Tutorial: Print Sturdy Sewing Templates on File Folders
Lazies, Just in time for the release of our new Banana Bag pattern, let’s talk about sewing templates! I used to hate templates: making them from patterns or books, using them, and keeping/storing them. Blech. Well, use this handy tutorial to help bring a little sanity to the template arena. Read on for all the details, then grab your FREE printable tutorial below!
One of the benefits of working with PDF patterns is that you have a printable file for the templates or pattern pieces in that project.
Printable Resources
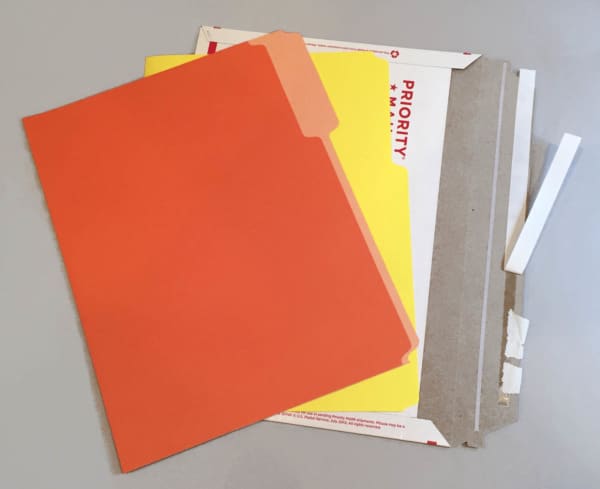
Templates can certainly be printed on plain paper, but that isn’t very sturdy. Here’s a trick to making more sturdy printed templates at home. I use old file folders for printing templates. I’ve also heard of using damaged/used USPS flat rate mailers, cereal boxes, and the like.
Note – my printer will not work with anything heavier than the file folders. Proceed at your own risk and know your printer’s limitations. Lazy Girl Designs shall have no liability to any person or entity with respect to any loss or damage caused directly or indirectly by the information contained in this tutorial.
Use Old File Folders for Sturdy Sewing Templates
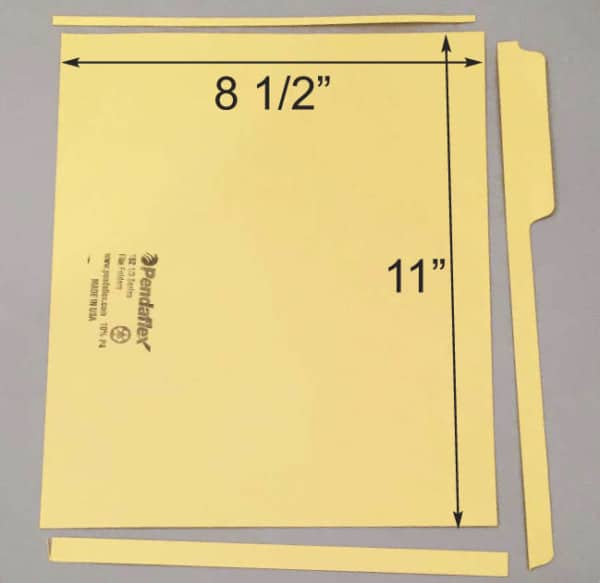
Use a paper cutter that can accommodate large items such as this file folder or use an old rotary cutter, ruler, and mat to trim to size.
- Cut the folder at the fold.
- Set aside the smaller half.
- Use the measurements on the paper cutter to trim the larger piece to 8 1/2in x 11in.
My folder has print on one side, so I feed it into the printer, oriented to print on the other side.
Keep in mind that you’ll probably be printing in black ink, so choose a light colored material for printing so you can see the ink.
Be sure to print at 100%.
Select Print Size Options
Templates and pattern pieces usually have a note regarding print size and scale, such as ‘print at 100%’, etc. All of my patterns show the templates at the correct size needed, or 100% size.
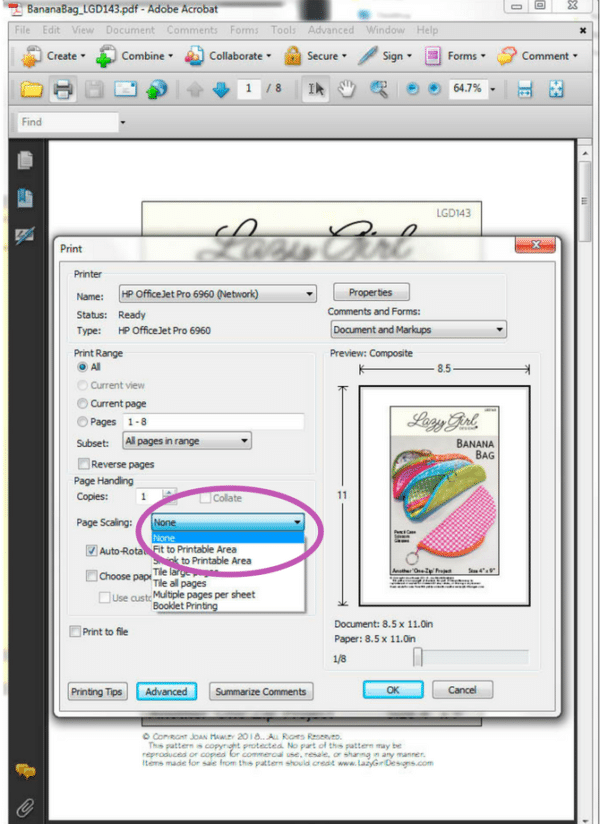
Here’s what the print screen options look like for me in Adobe. The pink circle is the area for selecting the print scaling.
To print at 100%, select ‘None’ from the drop down menu options which means there will be no adjustments and the template will print at the full size as shown in the pattern file.
Note: Find the template page in your project. Print just that page as a test. Enter that page number just above the page scaling where it says 1-8 on this image, to print just that page.
How To Verify the Printed Size is Correct
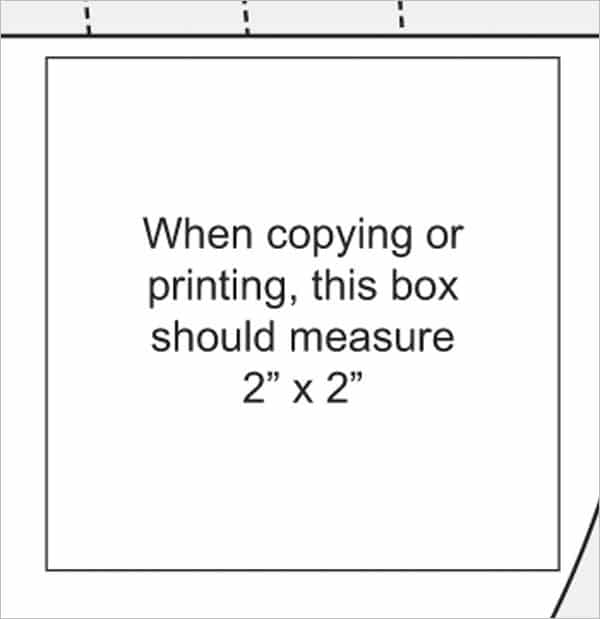
Many patterns will include a scale or graphic to help verify print size. The Banana Bag includes this box.
After printing, use a ruler to measure the box. It should print at 2″ square. For quilting patterns or project that require accuracy, the scale is really important. For casual projects like the Banana Bag, whether it prints a little larger or smaller – close enough is good enough. A good practice is to do a test print on plain paper to verify size, then print on your file folder.
Stock Up on Printable Supplies
So, or sew, there you have it. Keep those old file folders or other sturdy, printable materials and cut them to size for your printer. You’ll have a stash of interesting sheets ready when needed for your next printable adventure. Save some folders for storing printed goodies in your sewing supplies.
Store Templates and Patterns
Create a folder on your computer to save your PDF patterns. On a phone or tablet, I store files in iBooks.
Save printed templates in a file folder or plastic bag. Note the pattern/project on the folder or bag.
Remember to grab your FREE printable tutorial below!
Bonus Idea
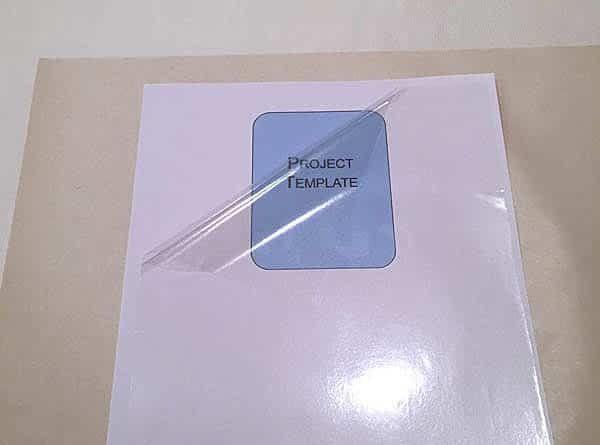
Use our tutorial to laminate your template with our Slicker Iron-On Glossy Vinyl after printing and before cutting out templates.
Pin This Idea
Be sure to pin this post to your Pinterest account.
Subscribe to receive emails for my blog and newsletters about new patterns and project ideas.
Enjoy!
Joan
Joan’s Sewing Group | Pinterest | Instagram | Twitter
Download this Freebie
Enter your email address below to instantly download this freebie now!Like and share this post with your stitchy friends.

Another way is to print the template on plain paper and then trace it onto a file folder. No worry about damage to your printer. What a great idea – file folders. I have oodles of templates and small patterns and they get pretty nasty looking. Thanks
Instead of printing on a folder I would print the pattern on regular paper and then glue to the folder and cut then cut the pattern for use.
You can also use cover stock and print the pattern on the cover stock. It’s not as thick as a folder but it is sturdy too.
I don’t have a printer at home, so I use the one at my public library. We can’t change the paper in that printer, so I’m going to trace my template on template plastic. I’m hoping that this tutorial means we will be getting the pattern soon. . .