How to Make Easy Candy Wrapper Key Fobs
Eat the candy, then make these easy candy wrapper craft projects!
Lazies, I buy candy for the pretty wrappers to make candy wrapper crafts. It’s true! Candy wrappers are a source of novelty ‘fabric’ waiting for fun and attention. Grab the printable tutorial (a $9.95 value) for FREE below.
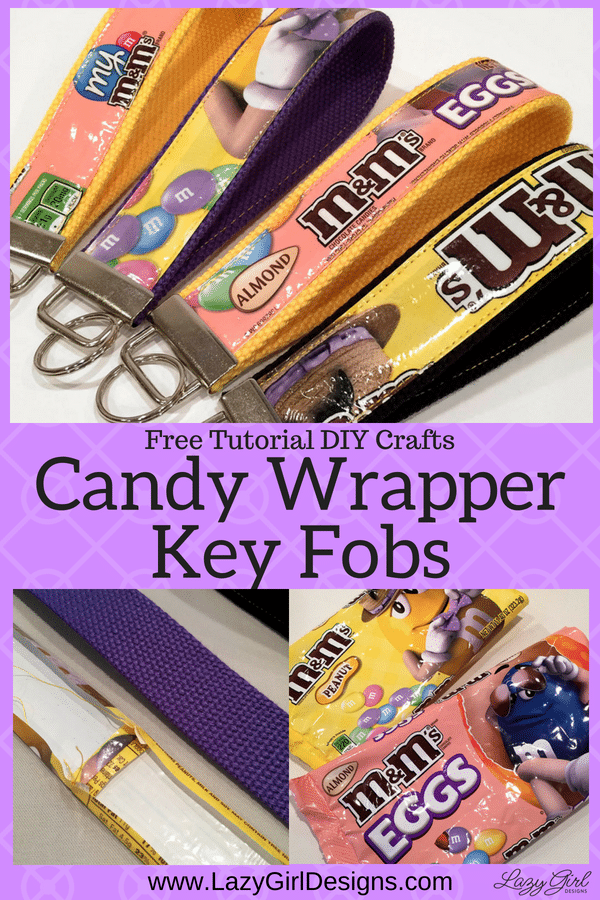
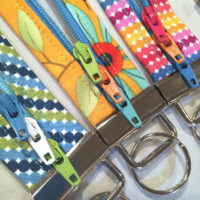
What could be sweeter than key fobs sporting your favorite candy wrappers! Next time you are at the grocery, collect colorful, bright, and tasty candy wrappers, laminate with my Slicker iron-on vinyl, then stitch up some sweet key fobs. Make a few or a slew! Then join the Lazy Girl community online at Facebook to share pics, tips and fun.
This post contains Amazon affiliate links. I make a commission when you order items through those links.
Supplies: Makes several Candy Wrapper Craft Key Fobs
- Candy wrappers of choice! I chose bags printed for Easter
- Cotton strapping at 1 1/4” wide or use your favorite purse handle directions to make a strap
- Slicker Iron-On Glossy Vinyl, SLG1021 from Lazy Girl Designs
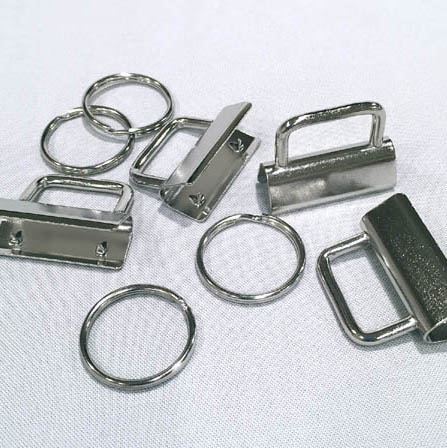
- Key Fob Hardware at 1 1/4” wide, LGD711 from Lazy Girl Designs
More grocery store projects: Hair Band Cases, Candy Wrapper Zipper Pouches, and No-Sew Duct Tape Zip Bags
What Is Slicker Iron-On Glossy Vinyl
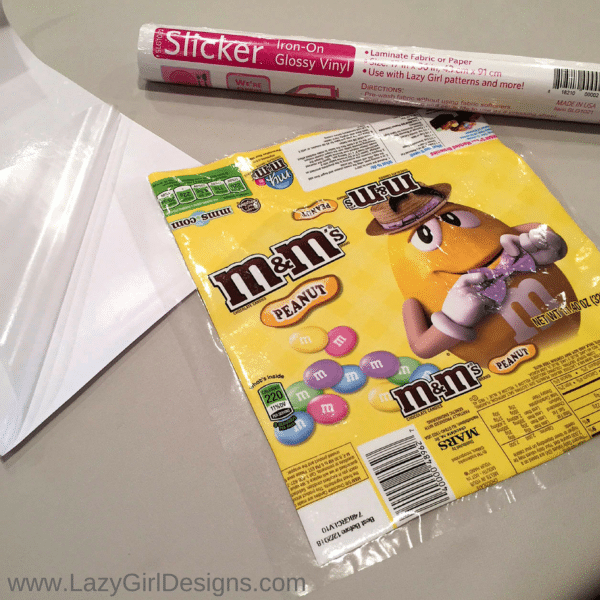
I love the versatility of our Slicker Iron-On Glossy Vinyl! It’s a layer of vinyl, with adhesive on one side, and comes with a paper backing. In the picture below, you can see the roll of pre-cut Slicker SLG1021 toward the top; a piece of Slicker with the corner peeled from the paper backing; and the candy wrapper bag rinsed, cut open, and fused with Slicker.
Getting Started
- Rinse, pat dry, and cut open candy wrapper.
- Fuse Slicker Iron-On Glossy Vinyl to top side of candy wrapper.
How To Apply Slicker Iron-On Glossy Vinyl
- Work on a hard and supportive surface like a countertop or cutting mat.
- Peel and save the paper backing.
- Place the vinyl with adhesive side on top of the candy wrapper and smooth in place.
- Slicker is re-positionable so you can pick it up and move it if needed before fusing.
- Place a sheet of paper under the candy wrapper to protect your pressing surface.
How To Fuse Slicker Iron-On Vinyl
- Use the Slicker paper backing as a pressing sheet and place it with the shiny side down on top of the Slicker.
- Test fuse a small piece of the candy wrapper if you are not using the whole wrapper.
- Press according to the directions from the Slicker packaging to fuse Slicker to the candy wrapper.
- You’re working with plastic and warm iron, be quick about things.
Cut and Sew Strips Together
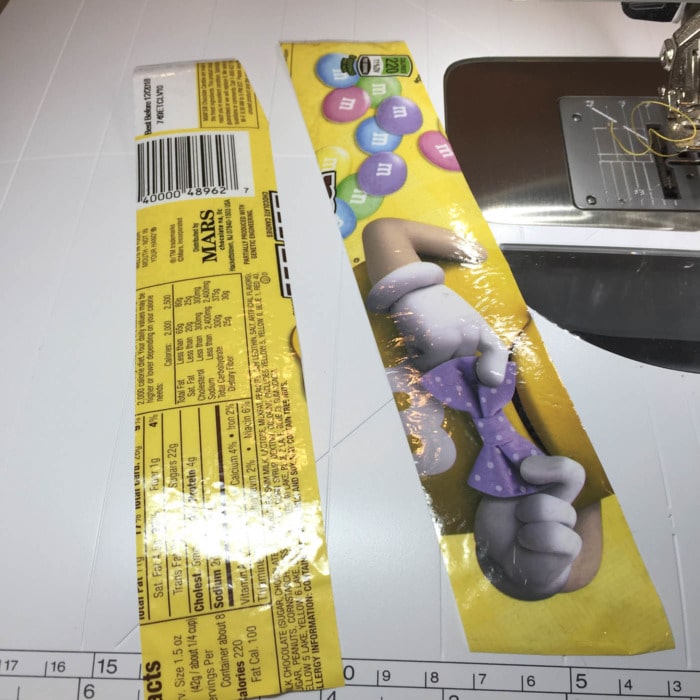
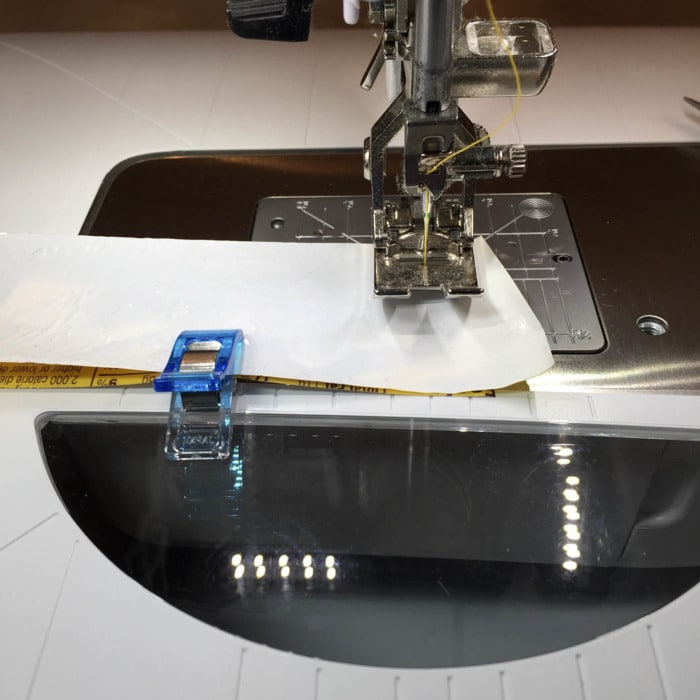
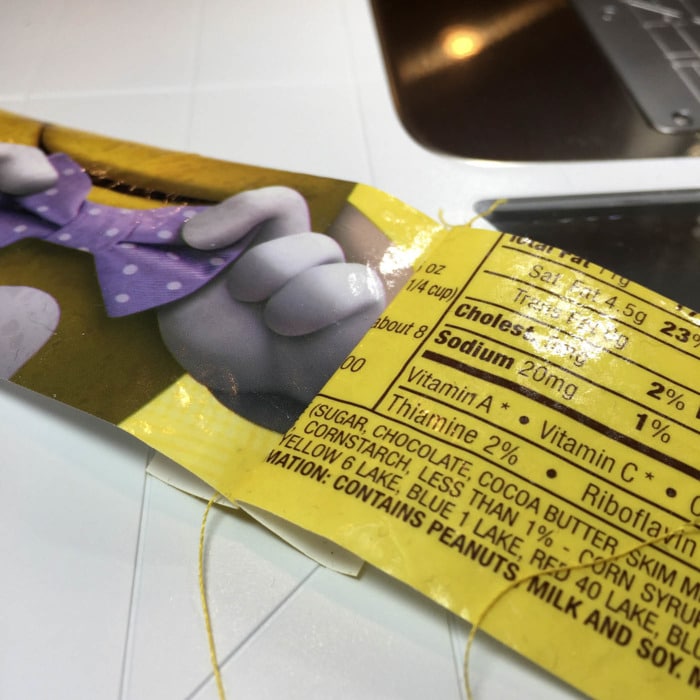
– Place strips right sides together and seam to get the length needed.
Position Candy Wrapper Strips on Cotton Strap
- Finger press the seam open and trim seam allowances.
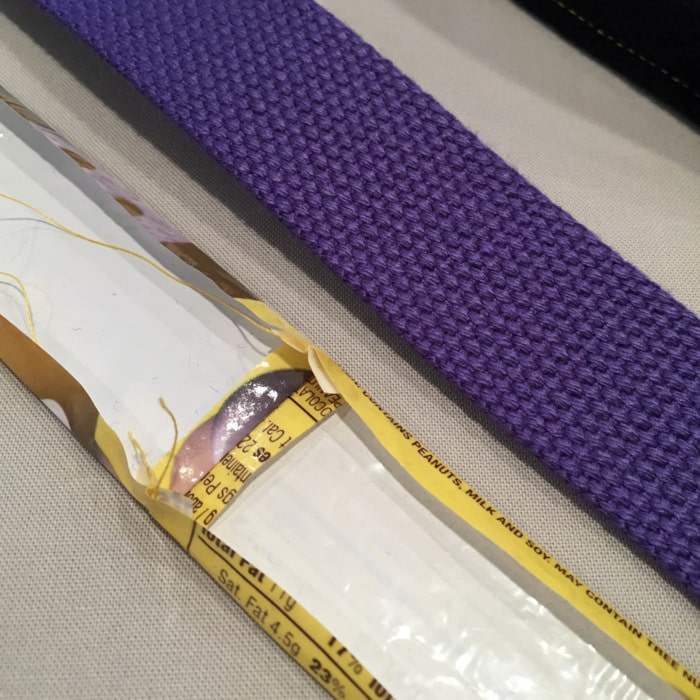
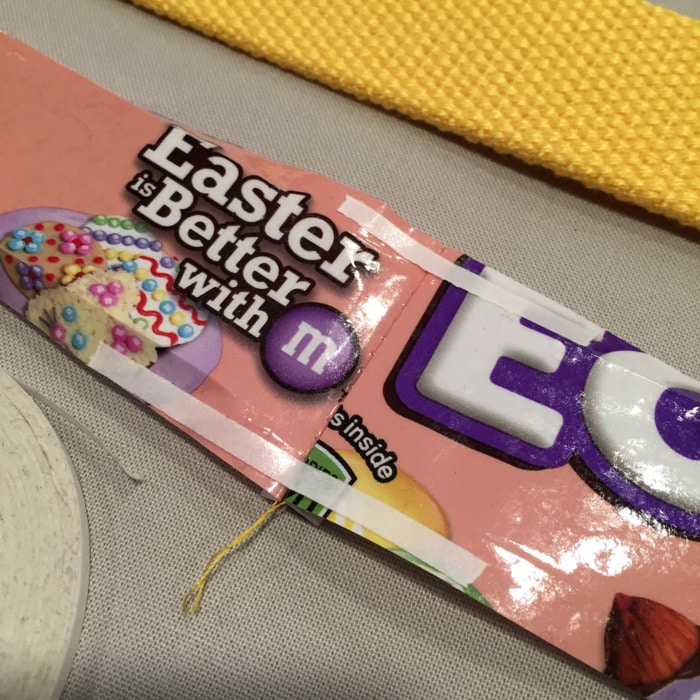
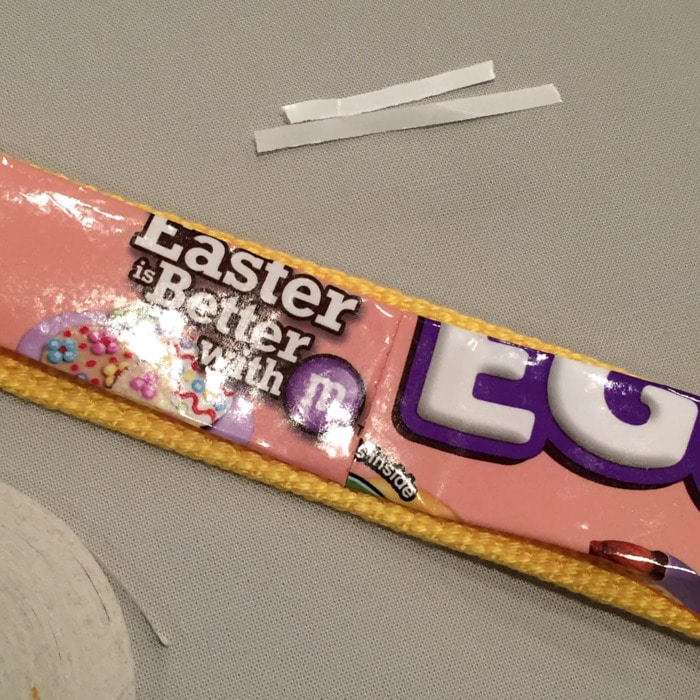
- Carefully fold under long edges of wrapper strip so it is narrower than the cotton strap.
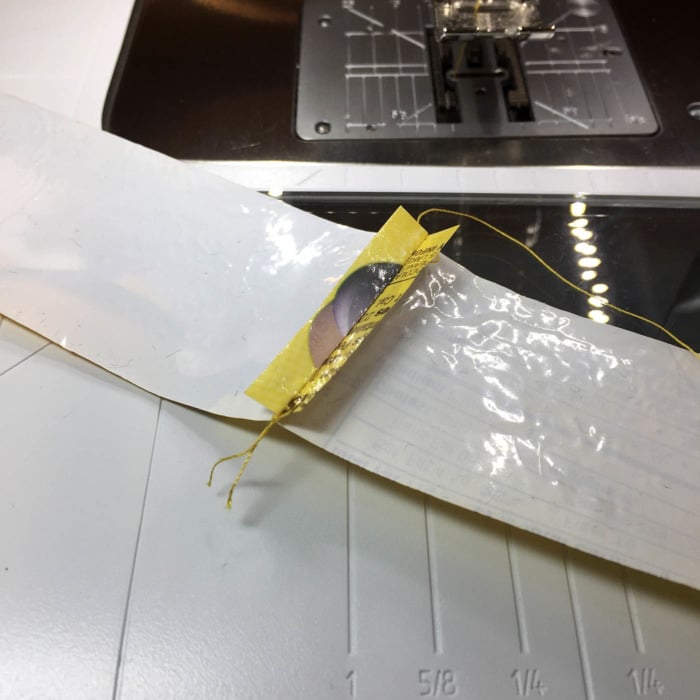
- Lazy Tip: The seam allowance area is the most unruly. Add a bit of double-sided adhesive tape to the wrapper where shown.
- Peel paper backing and adhere wrapper to strap. Secure this area to help manage the project.
Sew Candy Wrapper to Cotton Strap, Add Key Fob
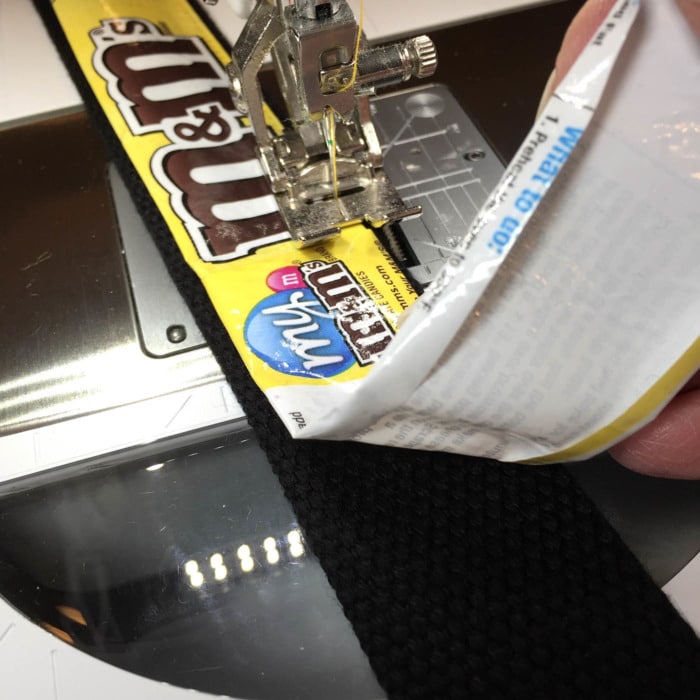
- Straight stitch on the wrapper, close to the edge, through all layers.
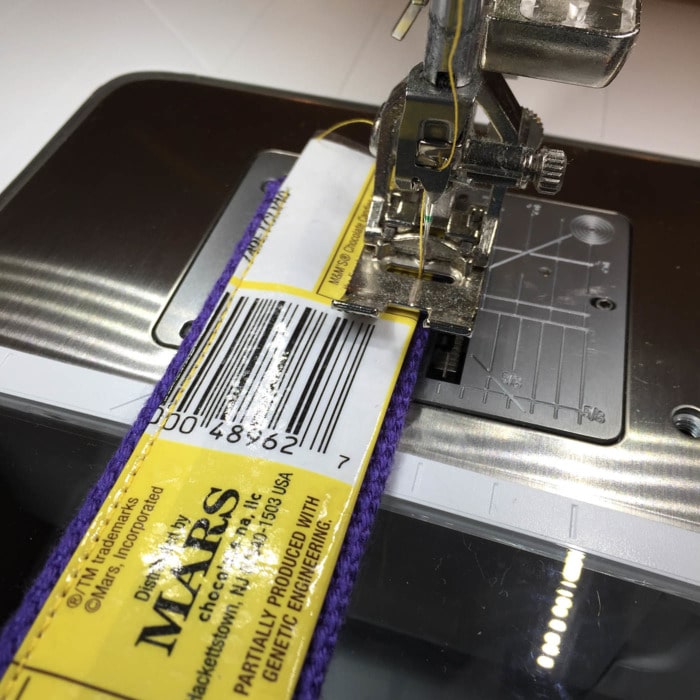
-
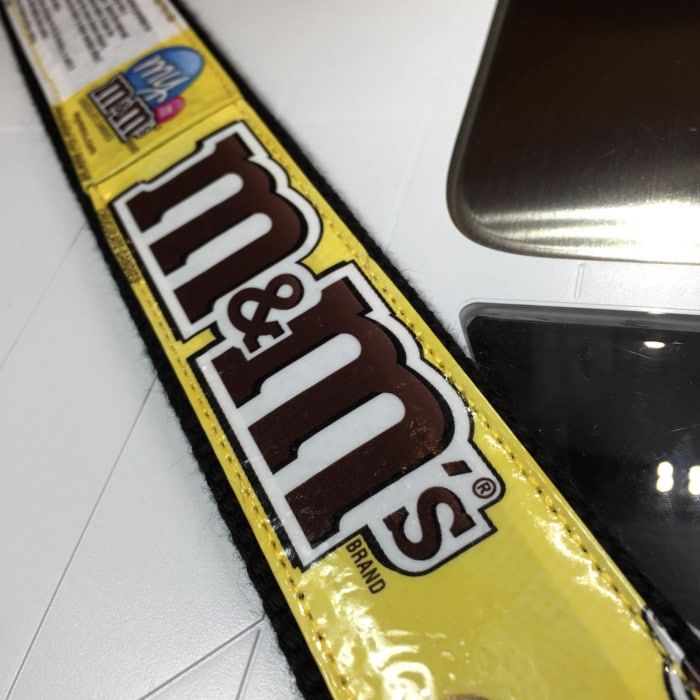
- Stitch the second edge of the wrapper.
- Trim the ends of the project as needed. Final length of 12-13” is good.
- Fold the strap in half, matching the ends. Take a few stitches through the ends to keep them together.
- Place ends in the key fob hardware and finger press or use pliers to close the hardware, clamping down on the strap. Enjoy!
Slicker Iron-On Glossy Vinyl Product Info
Buy Slicker in 1yd x 17″ package item SLG1021, or in yardage from the bolt at 17″ wide, item SLG102.
Shop Owners
The Slicker Iron-On Glossy Vinyl is available from all the major distributors.
Please sign-up for my Wholesale Newsletter here.
Claim your FREE printable tutorial (a $9.95 value) below!
Print it and keep it with your patterns for reference.
Like and share this post with your stitchy friends.
Join me in the Lazy Girl community on Facebook here: Facebook Lazy Girl
More Slicker Projects and Ideas
- Candy Wrapper Zipper Pouch
- Laminate Your Own Fabric
- Make and Laminate Templates
- Snack Pack and Lunch Wrap
Subscribe to receive emails for my blog and newsletters about new patterns and project ideas.
Enjoy!
Joan
Joan’s Sewing Group | Pinterest
Download this Freebie
Enter your email address below to instantly download this freebie now!Like and share this post with your stitchy friends.
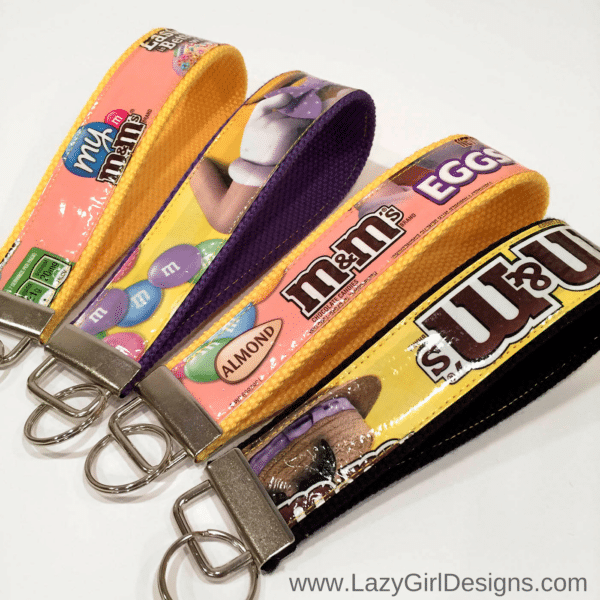
OMG, these are sooo cute
These are SO cute, but is there another source for the vinyl? I yard is $5.50 but shipping is $7??? Thank you!
I would like to buy your products. Do you have a phone # I prefer to talk to person.