Couch Fibers to Create a Surface Design
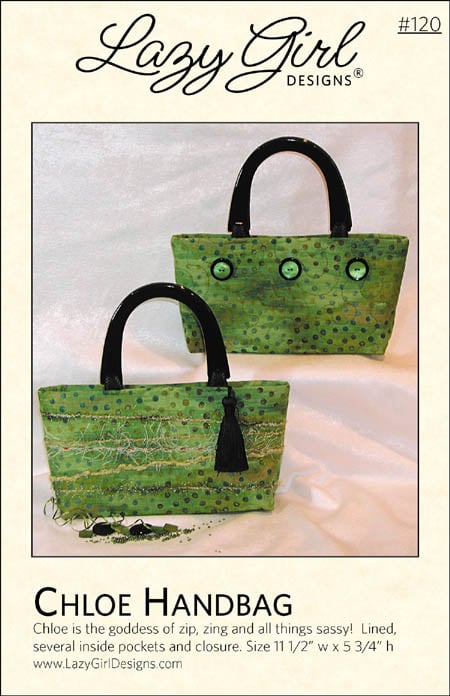
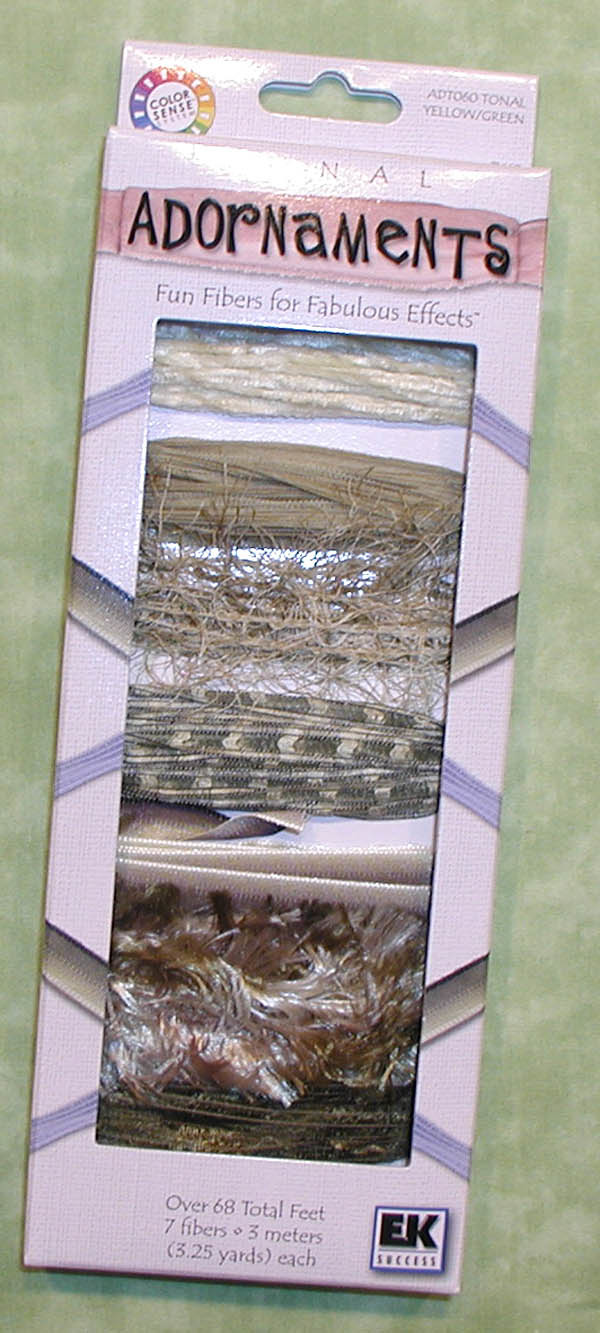
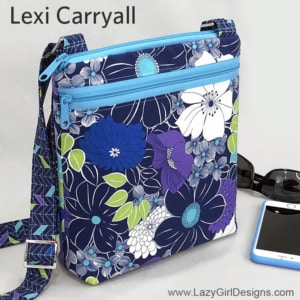
Lazies, Explore the excitement of adding fibers to your Lazy Girl Designs project with gorgeous fibers! In this example, shown on the pattern cover, I used Adornaments (TM) fiber packs from EK Success. Be sure to grab the FREE printable tutorial below!
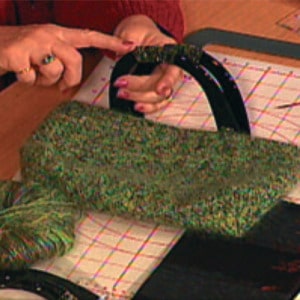
Each Lazy Girl Designs bag pattern has a central or feature plain area waiting to be loved with fibers or other embellishments. You can also use fibers such as yarn. Pick a fiber pack that coordinates with your fabric selection from the 48 different colorways available. These fibers are thin enough to be sewn into seams allowing the fibers to be secured in seam allowances. Top stitch in place, or use a group of fibers to make a tassel for your bag. This technique can be used somewhere on most of our designs.
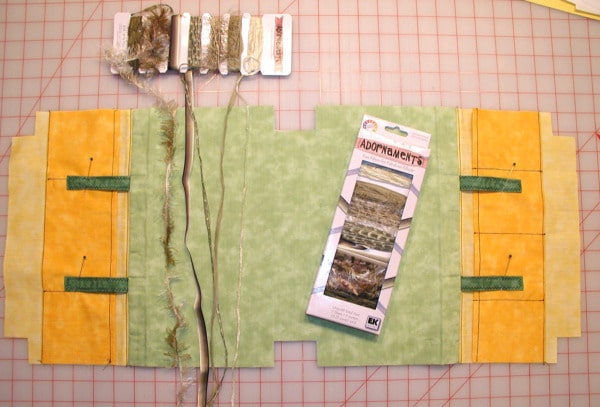
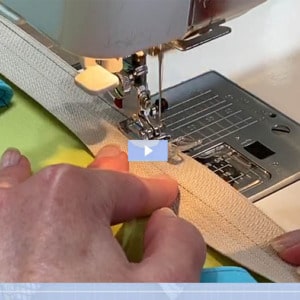
If you are leery of working with fibers, try our foolproof technique and practice on a sample. Construct the project as directed and incorporate fibers when you get to ‘Step 7: Embellish To Your Heart’s Content’. Unwind a bit of length for each fiber and lay them across the project as shown below. Use a monofilament thread and a zigzag stitch just wide enough to stich over the fiber. This is also known as ‘couching’. You may want to use a sewing machine needle with a larger hole and stitch slowly so you don’t break the monofilament thread. Use two fibers together. Pick any two and cut a bit longer than needed. Stitch ends to the seam allowance of the cover fabric. Hold both fibers together and twist so they are ‘entwined’ with each other.
Zigzag for the length of the fiber.
Repeat in cockeyed angles across the project.
Embellish both Marquee Areas for more fun.
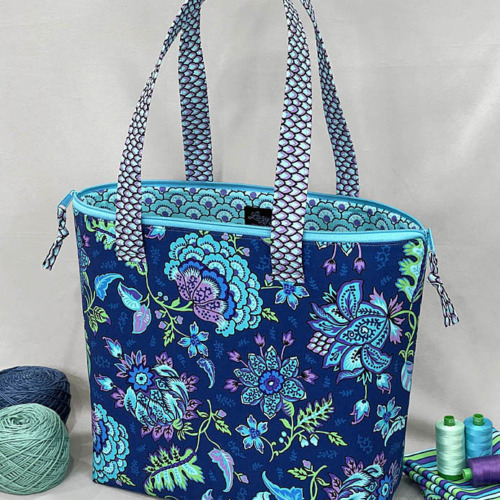
Complete the Chloe Handbag as directed in the pattern.
Be sure to grab the FREE printable tutorial below!
Enjoy!
Joan
Thanks Joan and I’m hoping your readers win lots of wonderful prizes!
Smiles,
Kelly
I see the Clover Kanzashi flower advertised on here – forget it! Those flowers never come out right no matter what you do!! needs some revising on instructions – trust me it will never, ever look like the picture – if someone figures out how to make it come out like the photo, please let us know how.
Otherwise all on here is fabulous as always.
HHhmmmm…saw Denise’s comment above. 🙁 unfortunate.. Mine look great.. I just followed the video. I LOVE them !!!!!
Have to disagree with Denise, mine came out looking just fine, I had no problem with it. It’s a great little item and you can decorate a lot of bags with those cute flowers! I have two of them.
I would love to try this but i don’t think they will come out as perfect! I am new at all of this!