Tutorial: Add A Patchwork Feature To Your Next Bag
Lazies, as you’ve probably noticed, my bag designs do not include piecework such as quilt blocks or applique. That’s intentional on my part. As I have found myself saying, I don’t dictate detail. So let’s talk about piecework. How do you include some on your next project if the bag pattern doesn’t include directions? Today, I’ll have some tips on how to do just that.
Truly, the best way to modify one of my designs is to make it first according to the pattern. Then you’ll know where and how much you can modify things for your special project.
I made a custom Miranda Day Bag for Julie Herman of Jaybird Quilts for Quilt Market last month. I started by interviewing Julie to find her bag preferences. She thought that was a little unusual.
The Interview
Big or small – big
Zip top or flap closer – neither, but she’d like an inside zip pocket
Left shoulder or right – really, does that matter? Yes, it does to me. For instance, if a zipper is involved, I want the zip to close toward the front of the bag when hanging on her shoulder.
Carry handles or shoulder strap(s) – modest shoulder straps
Anything else – yes, she wanted her logo to work as a billboard as she walked the show floor – visible and advertising her company name
What To Feature
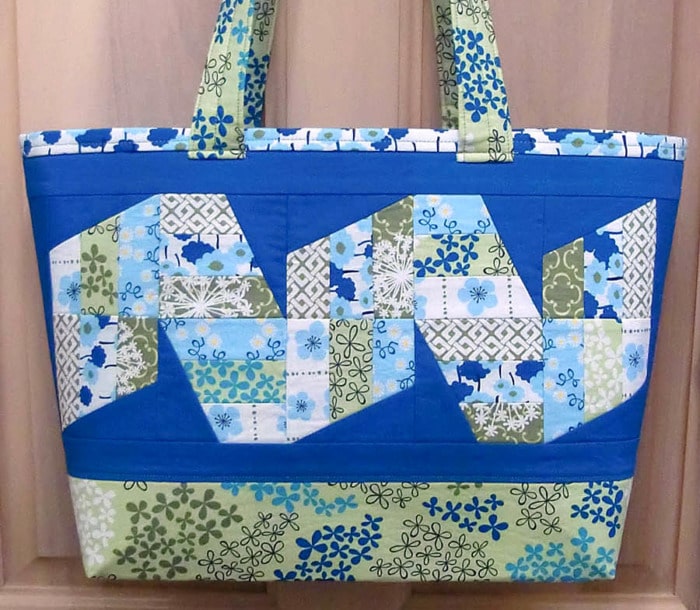
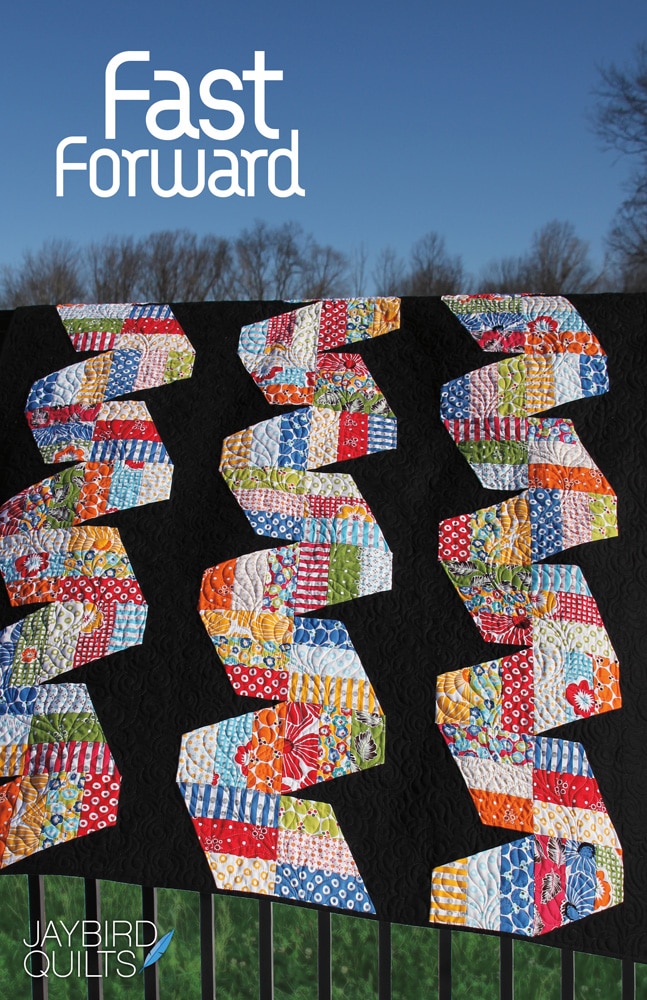
Use a pattern you love or some pieces left over from another project. This was Julie’s bag, so I wanted to showcase one of her designs that used the Lazy Angle ruler. Julie’s Fast Forward design uses 6″ blocks. Way too big for the Miranda Day Bag. With the Lazy Angle, you can make the same block in sizes from 1″-6″. I chose 3″ blocks for this project.
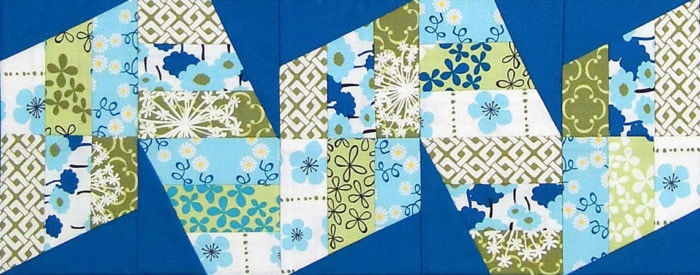
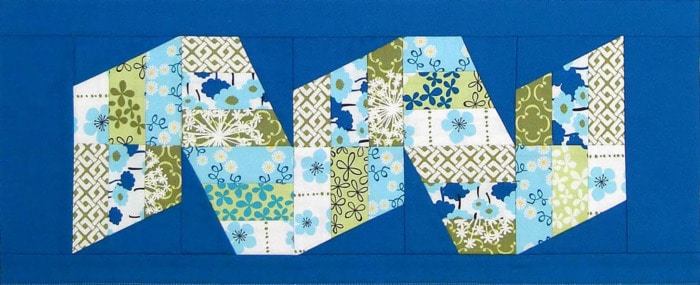
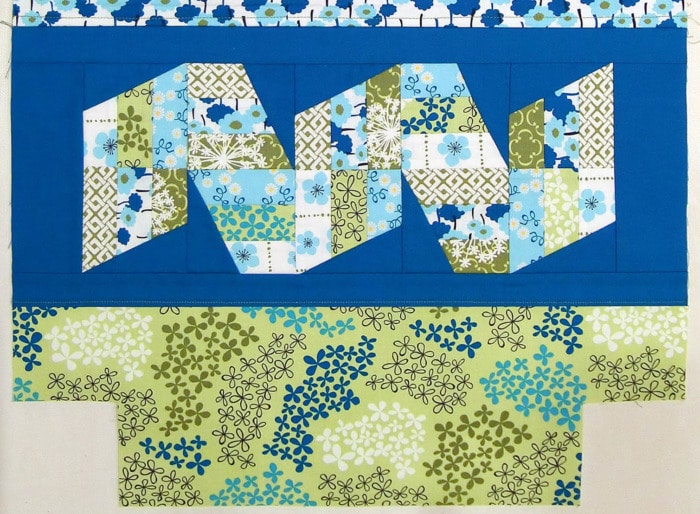
Here are the blocks I put together. Ten 3″ blocks in two rows of five makes a panel of 6″ x 15″.
Next, I added borders. Remember, the design will wrap around to the side seams of the bag. I added borders on all sides to frame the design and keep the patchwork off the sides of the bag.
The design does not take up the whole cover so I added fabric below as needed.
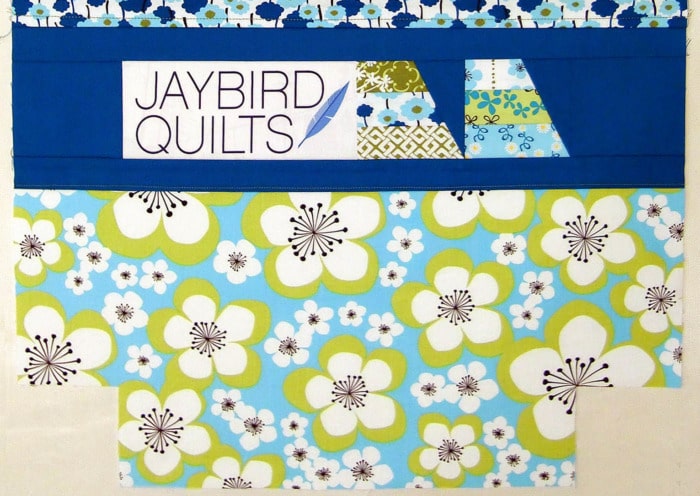
I did the same thing with the other side of the bag. This time I used Julie’s logo and a few stray blocks to create a feature. Julie used Spoonflower.com to print her logo fabric.
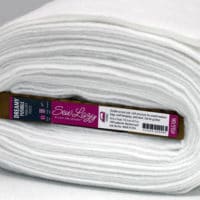
I chose fusible fleece for the batting so I wouldn’t have to quilt through the fancywork. Just some simple topstitching along the top and bottom of each pieced feature is all this project needed.
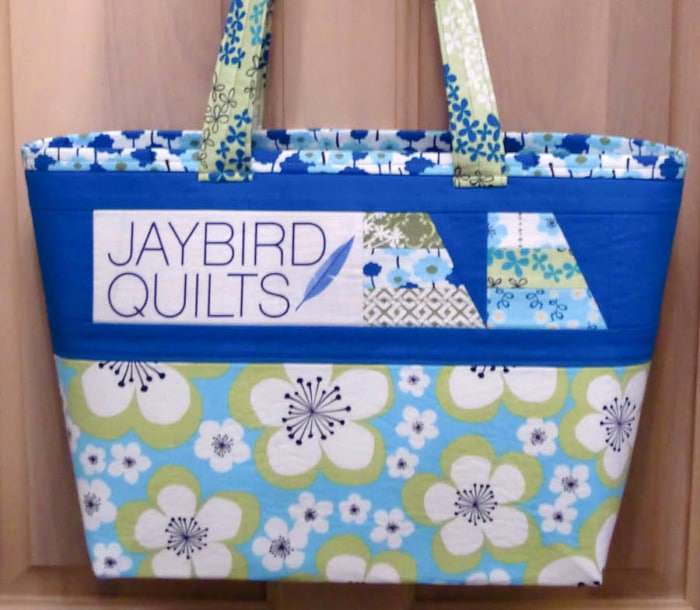
This pic is a little out of focus. But you can see the pieced feature lands nicely on the cover of this bag.
Left Shoulder vs Right Shoulder
Even though the feature is centered, the parts of the feature don’t have to be. I added two extra blocks to one side rather than on each side of Julie’s logo. This way, when Julie slings her Miranda over her right shoulder where she usually carries her bags, the logo will be totally visible behind her elbow. Yes, I planned that. If she was a leftie, I would have added the blocks to the other side of her logo.
Adjustments
This project turned out a bit wider due to the 15″ width of the pieced feature. I wanted a generous border on each side and that added about an inch to the width of the bag. The size of this adjustment is so small that I didn’t have to modify anything else such as the corner cut outs, etc. Simply be sure to adjust the cut sizes of the remainder of the bag.
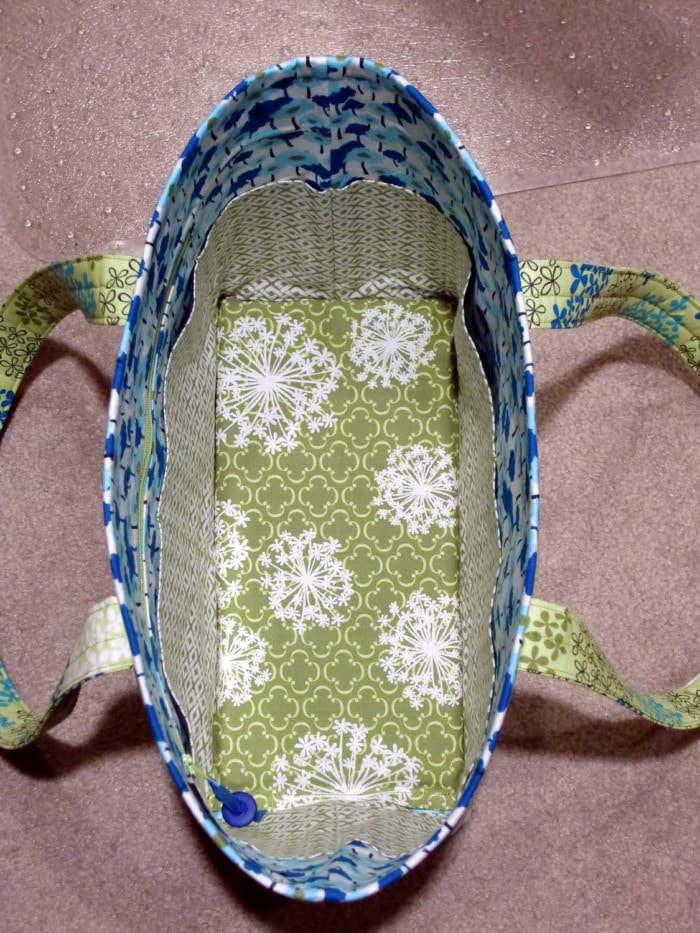
Don’t forget to mix it up with more fabrics for the inside of the bag.
Zippered Pocket
I did add an inside zip pocket which I’m quite excited about. I know you want to see it, but I’m not ready to share that yet. Look for that detail in a future design from me. Julie didn’t realize she’d be test driving a new pocket feature for me. I’m waiting to hear all her likes and dislikes for this pocket.
Julie has some info regarding working with Spoonflower on her website here. Remember, you can use fabric printer sheets and print your own small designs at home, too. The remainder of the fabrics are organic cottons, the ‘Pick a Bunch’ line from Robert Kaufman. Oh, these organics are nice to work with. Great feel and just beautiful.
Subscribe to receive emails for my blog and newsletters about new patterns and project ideas.
Enjoy!
Joan
Joan’s Sewing Group | Pinterest | Instagram | Twitter
Like and share this post with your stitchy friends.
This is one of my favorite bag patterns and you have just made this sing!! She must have been jumping up and down!!
Great suggestions for ‘making it your own’. It’s great when I can figure out how to add a feature to make a bag special for a gift. Thanks for posting this.
Love the inside zippered pocket: But can’t tell if it is in the front or the back of the bag. Please hurry with the “new design”
I would absolutely love to get inside your brain….. love all your ideas…that is why I am a “sewer” and you are a designer…. keep the ideas coming..
Joan : this is so so awesome ! If Julie does not like it (is that possible ??) send it to me and I’ll advertise for her !!!
Beautiful bag – There is a REAL challenge for left-handed folks, however! The designer of the ruler sent me instructions for me and my left handed friends. This will help not injuring myself with the rotary cutter, SEW important…
Joan ~ all I can say is “oh golly.” Can’t wait to try this out and I’m desperate for your new inside zippered pocket — you are amazing!
I really like the way that you set off the prints of the Pick a Bunch fabrics with the sharp contrast of a solid fabric. How did you do this… there are so positively many blue solid fabrics to choose from??
I love this pattern, it’s my next “to do” project…and I love this wonderful idea of incorporating it with a favorite bag pattern, I will do this!!! Love the new patterns out…well, I see where my money is going this month…
I just love this bag and “Fast Forward” is one of my favorite quilt patterns of those she’s written. I really love the way you’ve recreated her quilt onto this purse. It’s great the ruler will allow reduction of the pattern like that. (or did I read that wrong?) I cannot wait to be able to buy the patterns for the quilt, purse, and the ruler.
Oh I love the bag you made for Julie. How fun for both of you I’m sure.
Smiles,
Kelly
How cute is that and what a fabulous idea. I have tons of left over blocks from Dear Jane that would be perfect for that. I love the design that used on Julie’s bag and that is one of my favorite patterns of yours. Thanks so much for sparking some fresh ideas our way!
Penny in gloomy Chesapeake, VA (good day to sew!)
I enjoyed the making of the bag. I just purchased the lazy ruler. I hope that I can make this using the ruler. Please show how to use the ruler in upcoming bag demo’s.
Joan, that is awesome. I was just thinking of trying something like that the other day. Wow, you inspired me again. Now to find some sewing time!!
Thanks, Charlotte
I added an inside zip pocket to a City Bag once. I’m sure you’ve found an easier & prettier way!
tres beau il n y a pas de tuto bisesssssssssssssssssss
Pingback: Spiral Purse Giveaway! « Spiromaniacs
Pingback: Spiral Miranda Bag Giveaway! « Spiromaniacs
Pingback: Lazy Girl | Blog » Another Pieced Feature: Spiral Miranda Day Bag
White can i find instructions guilt blocks hugs&kisses bag
Hey
Marjatta Saraniemi Finland
Hi Marjatta, The Hugs & Kisses design is a quilt pattern available from http://www.JaybirdQuilts.com I used their block design to make the feature of this bag.