Customize An Ensemble Part 5: Project Planning and Sanity
Lazies, This is the last in our five part series. Making several projects together can be a bit overwhelming and confusing. Pulling together fabrics, instructions, accessories, notions, and your sanity is no small fete. But the rewards of a coordinated ensemble, created with the recipient in mind, will be a gem they’ll treasure every time they use them.
With my seemingly ever-shrinking attention span and dwindling memory, I better give myself some guardrails for keeping everything organized as I muscle through these three projects over the course of several sewing stints. Yes, I know myself that well, I need guardrails.
Choosing fabrics
After you’ve selected your projects, we move on to fabrics. Most of our designs use fabric groupings the same way. A single fabric for each element of the design. A couple of fabrics total, little to no piecing, very few embellishments.
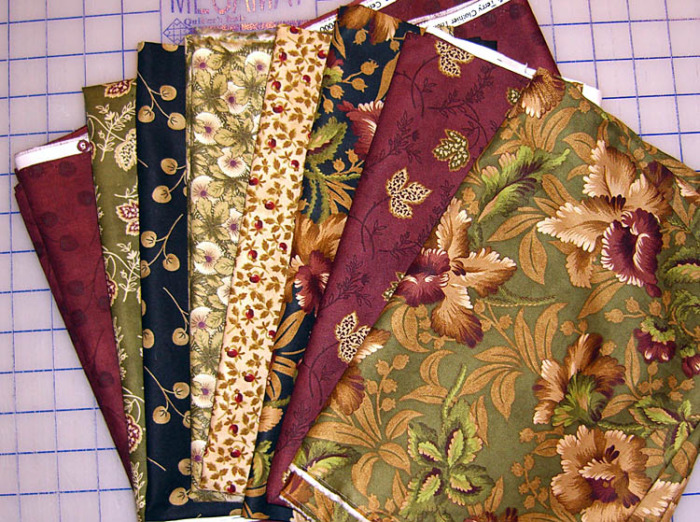
Plan on using your primary or feature fabric for an important part of each project. That will help tie all of the pieces together. Mix it up and use different coordinates for the remaining elements of each project.
How much fabric to buy
Gather the supply lists for your planned projects. Identify which part of each project you’ll make with the feature fabric. Add those yardage requirements together. Chances are that in doing so, you’ll have more fabric than you need. Most pattern designers, myself included, allow for a little extra fabric in the yardage requirements. But don’t be afraid to buy a little extra than you’ve calculated just to be sure.
How many different fabrics do I need
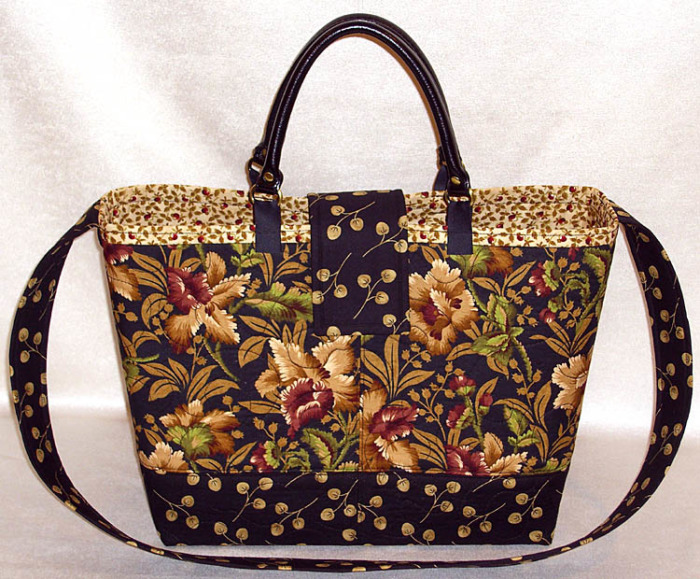
– Miranda uses four fabrics, between 1/3 and 2/3 yd cuts.
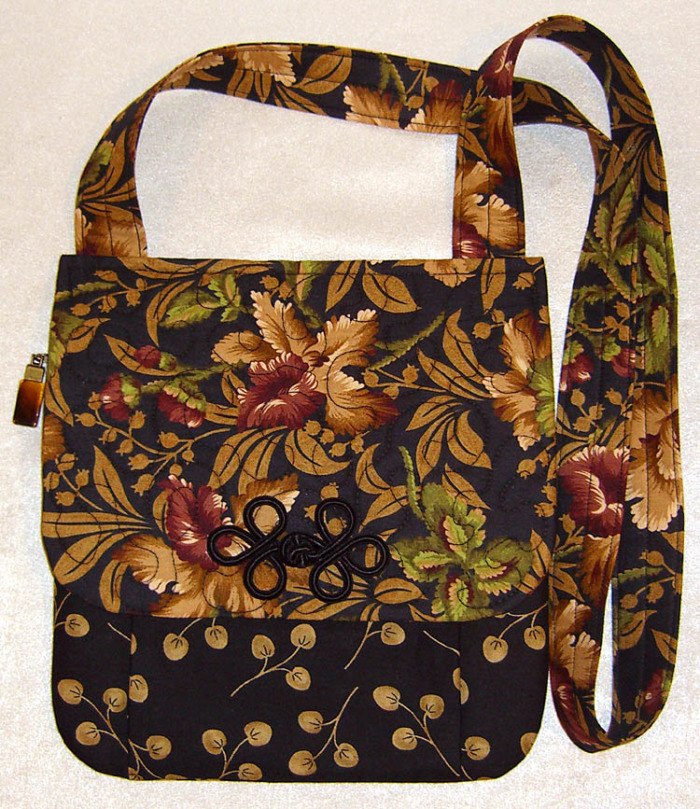
– Sassy uses three fabrics, all three are fat quarters.
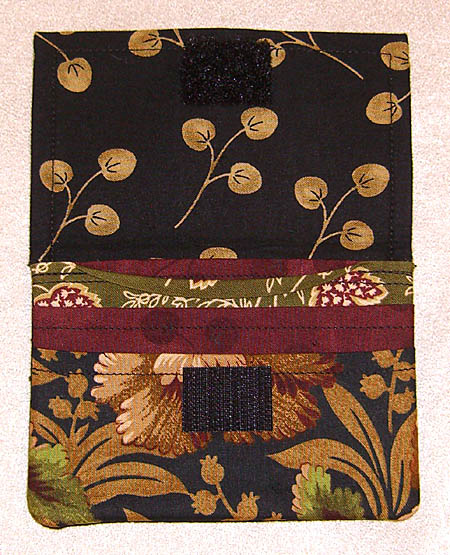
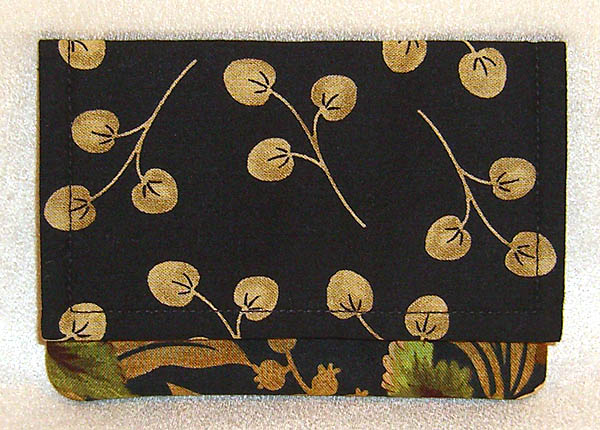
– Wonder uses one fabric, a fat quarter.
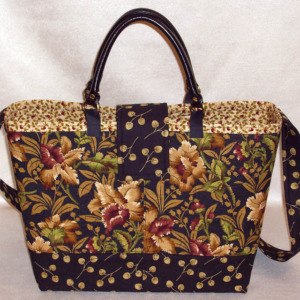
Read over the cutting directions and see how big the pieces are and give yourself an idea of what you’ll need for the rest of the projects. For instance, the smallest cut on the Wonder Wallet can come from a sizable scrap. The largest pieces of the Miranda Day Bag need larger cuts like fat quarters or half yards.
Total fabric
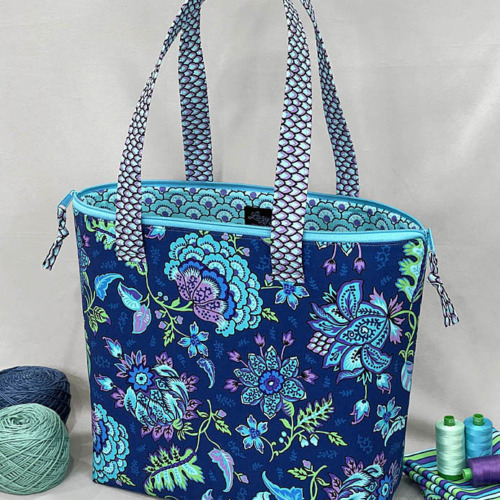
In total, I needed at least four fabrics and enough total yardage for all projects. Buying a little extra of each of the four fabrics for Miranda would allow enough for all three projects.
Accessories
Coordinate all of the accessories needed for all three projects when you get your fabrics together. For this grouping I used:
– 13″ black handle pair by Leisure Arts (love these handles)
– black Velcro
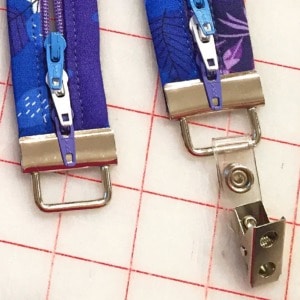
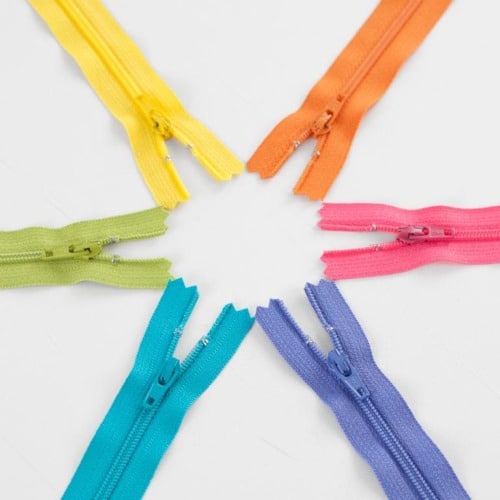
– zipper in coordinating color
– warm toned zipper pull added to the existing zipper pull.
Start with the biggest
Make one project at a time, start to finish, and begin with the largest design. You’ll be able to concentrate better working from one pattern start to finish. Set the other patterns and supplies aside and keep them together. Starting with the largest design will make sure you have what you need for the biggest project and biggest cuts. Then move to the next largest project and cuts, and finally the smallest project can be made from left overs and scraps.
More guardrails
– I keep a small notepad, pen and pins at my cutting area. I pin notes to fabric pieces as I cut them in order to keep things organized.
– Use a plastic storage bin or other container to keep supplies together. Put the patterns, fabric, and accessories in the bin, along with any notes to yourself. Everything will be in one place when you are ready to play.
– Take a few minutes to make notes at the end of your work session for your next sewing session. This might be where you are in the project. The step or page of the pattern. Or perhaps a list of additional supplies or notions needed.
– I keep a gallon of distilled water at my pressing area for my iron. I pick up a gallon once in a while when I’m at the grocery store. I keep forgetting to put it on the list, so I pick them up at random.
– Choose one thread color that works with all of the project in the ensemble.
– Wind extra bobbins, place them in the project bin.
Lazies, what are your favorite sewing room tips?
New to our blog? Subscribe to get emails so you don’t miss a juicy morsel.
Like and share this post with your stitchy friends.
Join me in the Lazy Girl community on Facebook here: Facebook Lazy Girl
Enjoy!
Joan
Facebook Lazy Girl
Pinterest Joan Hawley
Pinterest Lazy Girl Community
Instagram @JoanHawley
Twitter LazyGirlJoan
Note: This post contains Amazon affiliate links. I make a commission when you order items through that link.
Hi Joan…..I think I qualify as a “lazy”….I use post-it notes instead of pinning my notes to myself and I use a bin with it all together. Bonnie
i the sewing room, i keep the distilled water in a sports bottle, w/ the pull up drinking spout, so it’s easier to refill the iron, as opposed to trying to be careful pouring from a gallon jug. also, remind everyone that the distilled water is usually NOT in the water aisle, it’s in the baby formula aisle…..i searched for ever…..it’s not an aisle i’ve ever needed….
I make notes on index cards. They go into a mini binder made for index cards. They are then index by the name of the pattern. There is always something I need to clarify in my own mind. Then there are adjustments I make or such. I also use sticky notes for identifying the fabric cuts or other tidbits of info I need. Important info on the stickies go on my index card.
I take photos of finished projects and post them to my favorite online photo storage system for free. i keep them in a separate folder for public viewing. When anyone compliments me on a project and wants to see more, it is easy to go to any computer and pull up the photos. Also helps me to reference a project when I want to make another or another part of the ensemble.
I make wonder wallets out of any leftover material I have, no matter what the project. I have a constant supply of gifts, or charity donations. My family and friends love them, as does the local women’s shelter
Has the wonder wallet pattern changed over the years. I used to use it, but moved on because of the raw edges. Did I read something wrong?
When I go to museums, I take digital photos of fabrics, jewelry, metalwork, etc. When I was in France this summer I even took pictures of roofs, windows, ceilings, and metal grates. The patterns and colors are inspirational for all kinds of projects.
Beautiful fabrics and a beautiful bag. I’d love to make a Miranda Bag. It looks like a perfect bag. Thanks for sharing.
SewCalGal
http://www.sewcalgal.blogspot.com
Dear Joan,
All of your suggestions are great. I do a lot of them, but I always learn some NEW ones.
Thanks,
Another Joan
Beautiful fabric..especially the one on the top. Where can I purchase these fabric?
Hi Edie, These fabrics were pulled from my stash. I bought them 9 years ago and may not be available any longer I’m sorry to say.
Aw, shucks! I was interested in the printed fabric on the top. Do you know if it was Kaufman or Hoffman, perhaps?
I don’t pin notes on my fabrics anymore….I get stuck! I use return address labels. They work great! I put them on the different pieces of each kit…..fabric A….fabric B, etc Or binding or outside border. I also use them to keep track of my row strips and my blocks. 1-1 means row one block one. I always put them right side up. Takes the guess work out when I get to the sewing machine. Sometimes they are on the quilt when I unflurl it to show it off (before its quilted). I get some pretty funny questions.
I use 1″ wide masking tape for labeling fabric pieces, just be sure NOT to iron over it, but if you do heat it up again and pull it off.
I also keep a sewing diary where I write the date, the weather, my mood, what audio tape (CD, TV, radio station) I am listening to and what patterns, samples of the fabric, any tips or goofs I have made.
I have so enjoyed re-reading my old sewing diaries.
I try to keep index cards for each recipient of a gift, listing the pattern, the size, any changes I made and a sample of the fabric, along with the occasion and date.