Customize An Ensemble Part 1: Wonder Wallet
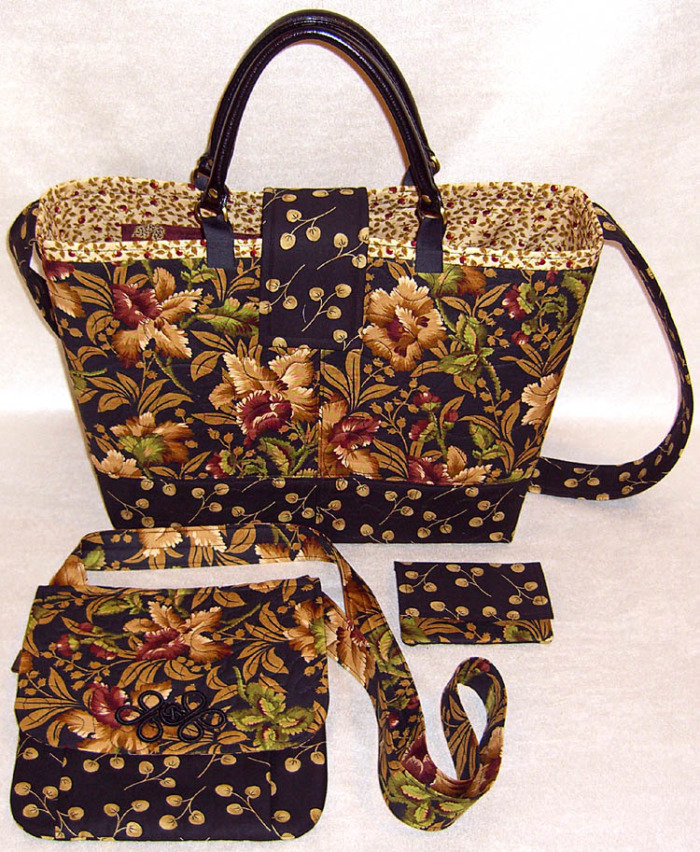
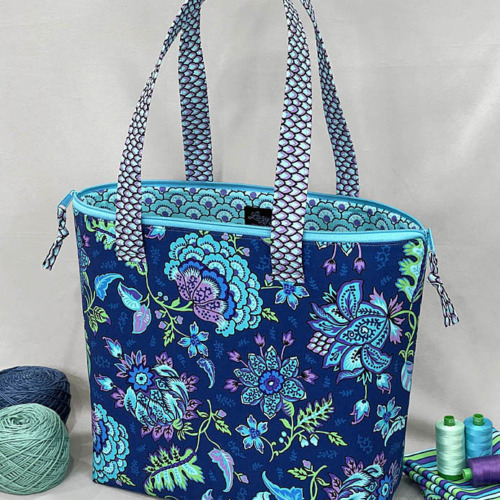
Lazies, I made an ensemble of Lazy Girls and included a few alterations and modifications on each. Here’s the collection: Miranda Day Bag, Sassy Bag and Wonder Wallet. I tailored each one as I went. I worked from my stash and had a mere 21″ of the feature floral fabric. I used elements from six different Lazy Girl patterns to make these three cuties. Today we are going to examine the Wonder Wallet.
It doesn’t really look like I changed anything on these designs, but I did.
Lovin’ My Stash
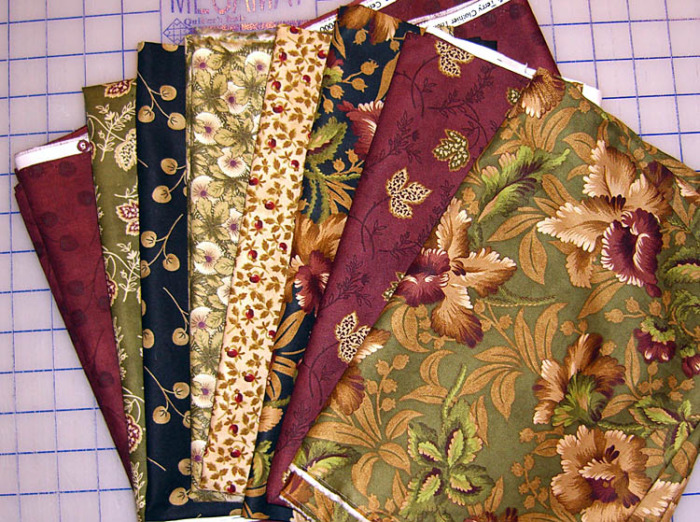
When I sew for the business, I usually work with the latest fabric releases and my stash sits there feeling ignored and unloved. Well Girls, I loved my stash for this ensemble. I recently found a tidy little stack of this nine year old Moda fabric amongst the ‘stuff’ in my sewing area. Woohoo! I used this fabric on the cover of the Towne Purse pattern.
Wonder Wallet
If you load your Wonder Wallet (LGD211) to the brim and can’t fit another thing in there, you might want to increase the size the next time you make one. If you don’t need a crow bar to pry out your credit card and you can browse through the contents comfortably, then you probably don’t want to make your Wonder Wallet any bigger.
Increasing the size of the WW sounds simple enough, but because of its engineering and small size, you must be articulate and conservative with any changes in size. You might be surprised to hear how slight and how easy these modifications are to make, and how much they impact the overall project.
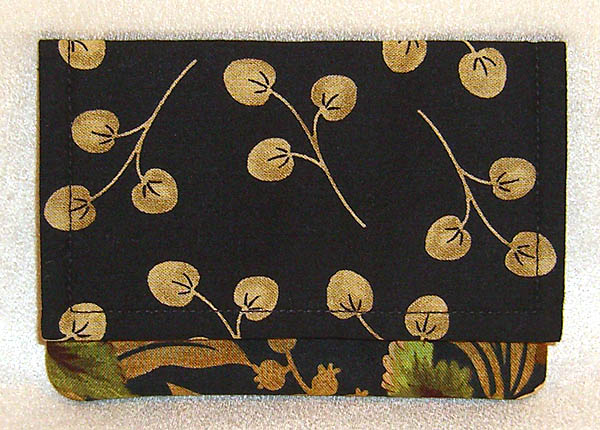
Unassumingly larger Wonder Wallet.
A Little Goes A Long Way
Increasing the width runs the risk of making the pockets so wide that your cards are not secure. Making the pockets deeper could mean your stuff sinks down below the pocket tops. A small adjustment to the width is all we need here.
The WW expands front to back as you load the contents. Adding 1/8″ to the width of each piece allows the WW to expand an extra 1/4″ front to back. That’s roughly 8-10 credit card sized items. Not bad.
Increase The Flap Closure
Now the flap closure needs to be longer to accommodate holding more stuff. But how much longer? Well, 1/4″ of course – easy peasy on that one!
The cover/flap is a folded piece, so to increase it 1/4″ in length, cut the cover 1/2″ longer. When folded, that will be 1/4″. Perfect.
I used left over cuts to make this coordinating Wonder Wallet.
Constructing The Flap
Remember, the flap part of the cover is the first thing we do in Step 1 of the pattern. Increase the stitching from 2 3/4″ to a full 3″. That’s our extra 1/4″ of flap length.
Interfacing
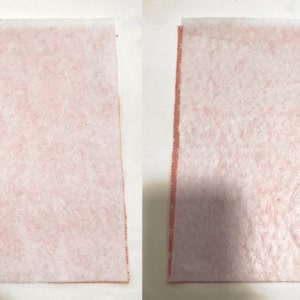
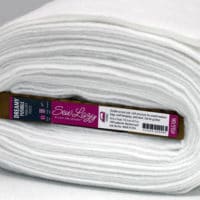
I do like to add a piece of fusible interfacing to half of the folded the cover. Cut the interfacing 1/2″ narrower than the folded cover, and 1/4″ shorter. This will keep the interfacing out of all of the seam allowances during final sewing. We don’t need to add bulk to that seam.
Velcro
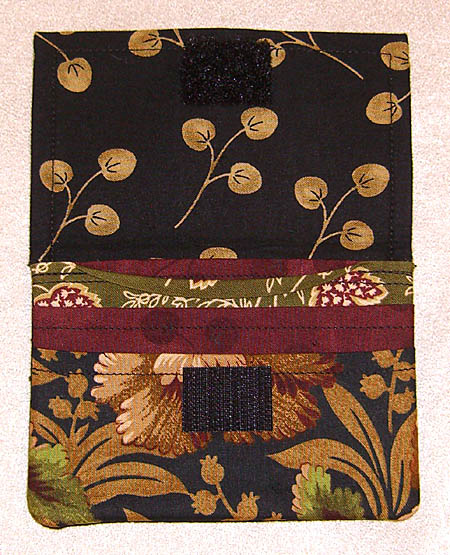
I use the Fusion, fusible Velcro for this design. I think Fusion Velcro adheres better to washed fabric, but I don’t wash my fabrics. So I use a spray bottle and wet and wipe the area with a clean towel where I attach the Velcro. Fuse the Velcro in place when the fabric dries.
I’ll see you next week for details on the Sassy Bag.
Subscribe to receive emails for my blog and newsletters about new patterns and project ideas.
Enjoy!
Joan
Joan’s Sewing Group | Pinterest
Like and share this post with your stitchy friends.
I can’t wait to try this – always wanted to increase the size but always afraid to deviate from the pattern
thanks!
Joan, I love your ensemble! You have coordinated the Wonder Wallet with two bags. I have the WW pattern but haven’t made it yet. I know it would be a great gift, be it birthday, Christams, etc. Gift cards would fit in a WW just perfectly and the package is a gift as well. Inspiration for birthdays and Christmas for this year. I love your patterns. I have made the Towne purse (2) and the City Bag. Great patterns. Keep up the good work and inspiration. Joyce in WV
I really enjoy this site and the information and ideas that you give us. Thank you
Perfect!
Ideal amount of change to Wonder Wallet. This time I’ll keep one I make. They seem to walk out of my studio with regularity! Perhaps I need to install a tracking device on the next one. Time to check the stash for a great motivator fabric(s).
Love the little extra room! I am afraid to look in my stash! Thanks for sharing.
Penny D in Chesapeake
Hi!
I was wondering about not prewashing the fabrics. I’ve been reading a lot recently on some sites about the chemical fumes that come from stored fabric that hasn’t been prewashed and that these fumes can be dangerous to your health. Have you had any problems from this, especially as the fabric that you’ve used from your stash is 9 years old?
I have been making my Wonder Wallets adding 1″ all around for a long time now and adding interfacing to the top too. My friend, Susan, put me on to this improvement to hold my “stuff” without crowding everything. So now your wonderful Wonder Wallet is even better!
Another quilter turned me on to WWs, and I’ve made and given many of them. They’re the best! However, their are people who do need a larger size and/or times that call for it so thanks for giving us this info. Also love the fabrics you used in this ensemble.
By the way, Joyce Frazier, thanks for the idea of adding a gift card (or making the WW for the sole purpose of having a nicer presentation than the envelope for a gift card)!
Have you made any of these with an inside zipper for the coins instead of the lap
thanks
Hi–I love the idea of a little bigger WW. I just made your Noriko handbag and matching WW for my niece’s wedding. I love it!!!
Okay, I’m ready to tackle the WW now! Thanks for all your great ideas!
I modified my WW by adding a pocket to the OUTSIDE of the back for receipts by making two 4 1/2″ “pockets” and turning one to the outside and the other as per the instructions.
I have also tried a clear plastic outside pocket, but not real happy with the results.
Does anyone have a good source for purse zippers? I have only made 6 purses so far & am finding that I much prefer a purse zipper. The color & size selection In Minneapolis is very limited. Thanks for any ideas.
Phi
I have made tons of ww’s and everyone loves them, time to try the new adjustments. Thanks
I love the WW and keep a supply all made up for Gifts for all occasions. But …the only thing missing is a pocket for a tube of lipstick (for me at least). I have tried to figure out a way to make a pocket just for a tube, but have had to resign myself to just a loop of elastic sewn to the back of one that I use most often. I love being able to grab my WW, put in a pocket and take off for the day with nothing to carry. It has become a part of me.
Thank you, THANK YOU!
Great Idea – can’t wait to raid my stash and try it!!
This is an absolutely beautiful ensemble, Joan. You have a great eye for coordinating fabrics.
Thanks for directions for enlarging the WW. My copy of that pattern is on its way to me, and I can hardly wait to make some!
I’m looking forward to reading the details on the other two pieces of this set.
I love the regular WW pattern, now I can’t wait to try the changes you’ve shared, Joan!
Thanks so much!
I’m a beginner at sewing, just a couple of years under my belt. I got involved with Joan Hawley’s patterns about a year and half ago, have tried almost all of her patterns,but my favorite is the Miranda bag. I teach jewelry during our lunch hour at work, and the Miranda bag holds so much of the tools needed for our sessions. Every time another secretary joins our group, I make her a bag. So far I’ve made 7, each of them different from the last. Gorgeous of course1! Thanks, Joan, for inventing such a wonderful pattern. I just love her to bits!
I’m not a fan of fabric purses since they look so faded and shabby so quickly, but I SO like how these look. too bad we can’t recreate these since the fabrics are out of print.
I and my friends also love the WW but the modification that I made is different. I made a tube, put elastic through it, and attached it in approximately the middle to the back of the cover. Then I put a snap on the end of the strap and in the wallet. This allows the WW to grow and shrink as the contents of my WW change.
My daughter solved the problem, a long time ago. She carries two in her pocket.lol
The Wonder Wallet was my first Lazy Girl project thanks to my sister. I’ve made lots as gifts. It’s amazing the creative uses people find for them. I’ve made them for preschoolers and elderly friends. Fabric makes such a difference. Thanks for the adaptations and the hint about Fusion Velcro.
I have a collection of LG patterns and I know whenever I make one it will be a success for me or the lucky gifted person.
I have made 4 of the #107 Towne purses for gifts and it is really liked for the pockets on the inside.
My daughter is holding mine hostage until I make her one. Maybe this week. We’ll see. Thanks for the idea to make it bigger. I was thinking of making matching checkbook covers for gifts in the future. Do you already have a pattern for those?
I have had the WW pattern for a while & have yet to make it….now will have to do an original & then one with the enlarging directions. Love your patterns! Keep them coming! Sherry
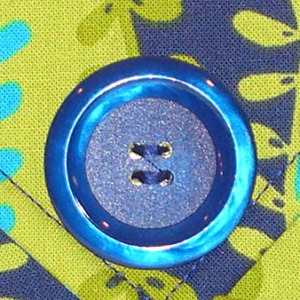
I made the WW using the increased size. It’s my first and it turned out great. I did use a 2 inch piece of 1/4 ” velcro in the coin pocket. I found some large buttons marked down to 25c at JoAnn’s and used one to cover the velcro stitches. I couldn’t bring myself to use the fusion velcro. I tried it once and it was a mess.
Hi Jean,
ARE YOU a great artist, I love your work, especially BAGS, I want to buy FROM YOU DVD – where it shows YOUR WORK BAGS,
Hugz, WANDA
Hi Wanda, We have video demo’s for several of our projects online here:
http://www.lazygirldesigns.com/community/media.php
And you can purchase DVD’s of those episodes at Kaye Wood here:
http://www.kayewood.com/category/DVD_s/c50
Enjoy!
Joan
I think fusible velcro is awful, tried it on 3 projects. Going back to the sew on stuff. Button on top of stiching sounds great.
Just one of your Lazy fans. you are the best !
I added a ribbon loop at the top corner of the pockets to make it easy to pull from my purse. Also a couple of small ribbon loops on the coin pocket; this really help my arthritic fingers open it.