Tutorial: Add Purse Feet to Your Next Bag Creation
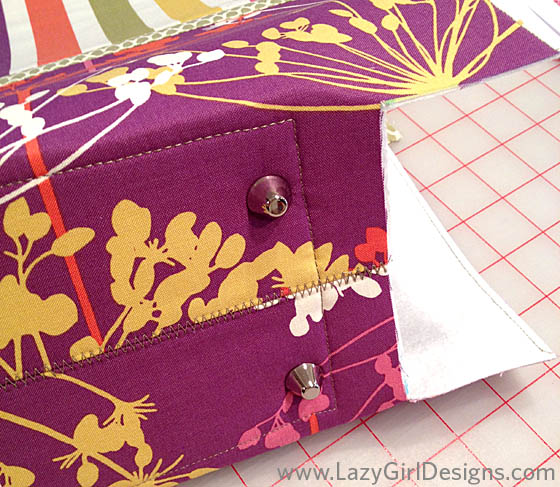
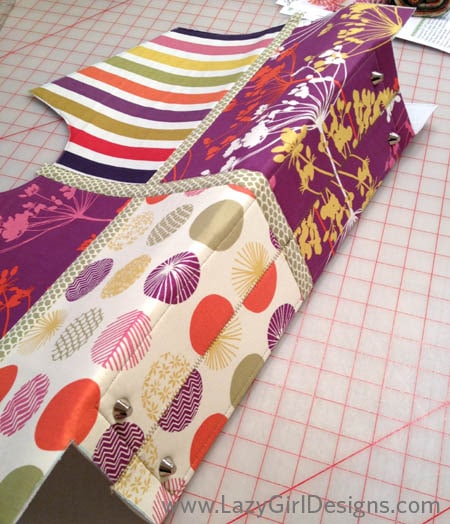
Lazies, Adding purse feet is a simple way to add a professional finish to your next bag creation. I recently made this gorgeous bag using the Nancy Zieman Hobo Tote templates. And I used purse feet on my Mom’s Margo Handbag here. Here’s a view of the bottom of the bag during construction.
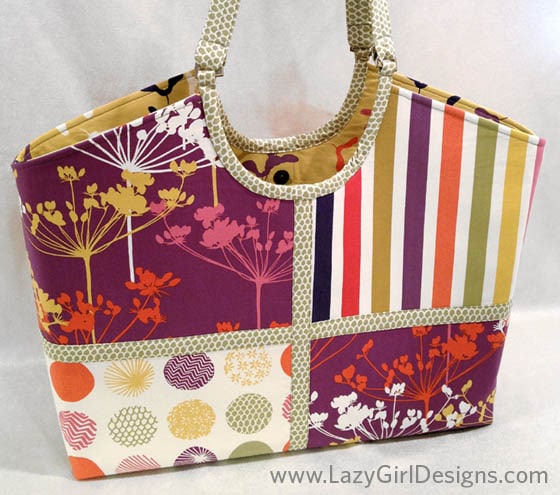
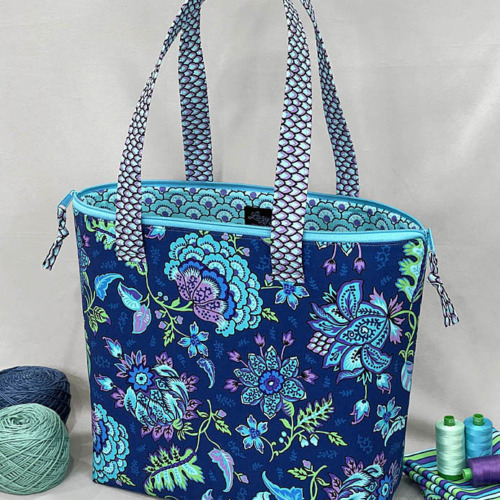
Here’s the finished bag. Purse feet help keep the bottom of the bag off the ground when you set it down. The metal feet also make a clinking noise when you set the bag down. So be aware that feet could add noise to your everyday bag experience.
Where to Add Purse Feet to a Bag
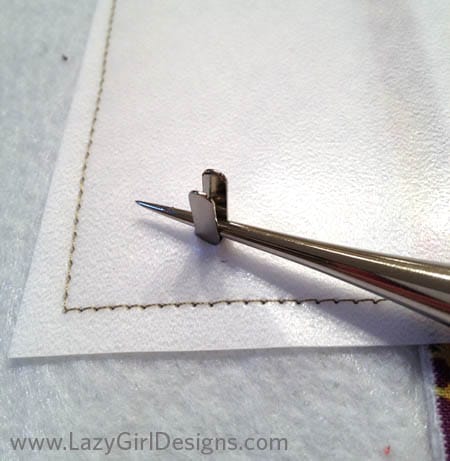
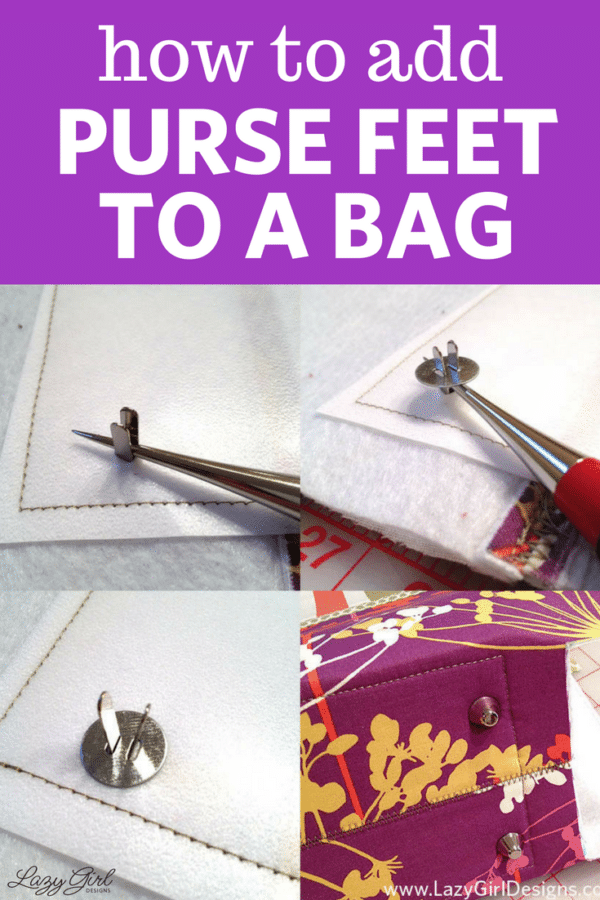
Purse feet should be located away from the corners and edges of the bag. Use a utility knife or other straight bladed tool to cut a small straight slit through all layers just big enough for the prongs and insert the prongs of the foot. Next, I use the tip of my Clover stiletto to separate the prongs. Slide the tip in between the two prongs until they are wide enough to match the holes in the washer piece.
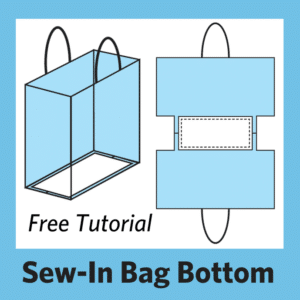
This project includes a sew-in layer of support for the bottom of the bag. See my tutorial on how to measure your bag and install a Sew-In Support For Your Bag.
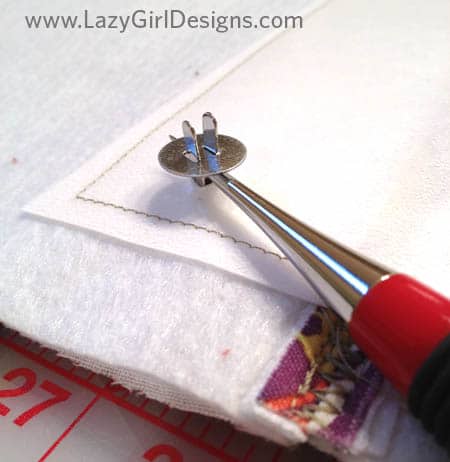
Leave the stiletto in place and put the washer on the prongs.
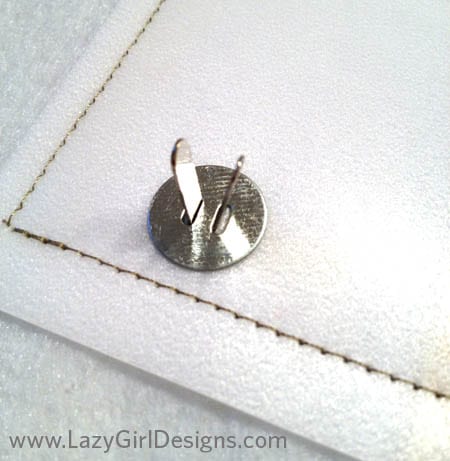
Remove the stiletto and push all the washer down the prongs. Continue to bend the prongs with your thumb and press them flat against your project.
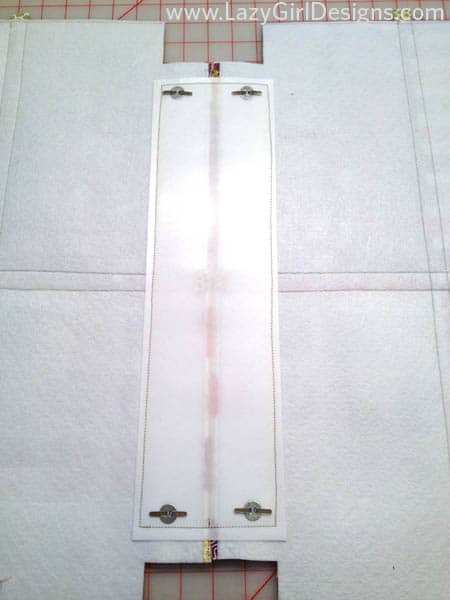
All four feet are in place. Here you can see that with the prongs folded down, the feet need to be away from the edge to give the prongs room without rubbing against the edges of the finished bag. This particular project calls for four feet, but you could add more to support the middle of a bag this length. All of the prongs and washers will be concealed by the bag lining.
Here’s the outside bottom of the bag, showing all four feet in place. They look great and putting them in was a breeze.
How To Box The Bottom Corners of a Bag
This bag has a squared and flat bottom. This is achieved by using a technique to ‘box’ the bottom corners. For more info see my post about how to box the bottom corners of a bag.
Choosing Purse Feet
There are a lot of purse feet products on the market. I used Nancy Zieman’s 9/16″ size purse feet from Clover. They come four to a pack in two sizes and two finishes. Choose a finish that matches any other hardware on your bag. Let me also mention that as an option you could make your own using sturdy buttons.
Pin this post on Pinterest! Consider adding this finishing touch to your next bag to give it that little extra something that sets it apart.
Subscribe to receive emails for my blog and newsletters about new patterns and project ideas.
Enjoy!
Joan


Thank you so much for the detailed tutorial. I’ve had some purse feet in a drawer for years, tried several time to install them and failed each time. Fail no more!
Joan, I have almost every pattern you have created! I love your work and your sweet spirit.
Thank you for all your work. Jean Zeiler, in Maryland.
I enjoy your tutorials Now I can use feet on my purses.
Joan, When using the feet, are you using a stiffer or heavier stabilizer in the bottom of the bag? When I’ve tried them before using recommended interface and batting I find that the bag bottom buckles around the feet. Judi
Great instructions! Here’s something you may want to try also… I always add an extra piece of fabric ‘reinforcer’ to further stabilize in between the item, prongs and the washer. As an example, I tend to save little pieces of pre-quilted fabric scraps, or scraps from fabric with stablizer sewn or ironed on to it. Then, when adding these type of feet, or even the magnetic closures, I cut a piece of the scrap, in a somewhat round shape, a bit larger than the metal washer. I cut two little slits in this piece, and slip it down over the prongs, then add the metal washer, then bend the prongs down nice and tight. You want the diameter of the scrap piece to be larger than the area taken up when the prongs are folded down. I find this extra piece helps to keep the prongs from eventually ‘poking through’ the fabric on the good side, and adds a bit more re-inforcement to the installation of these types of things!
The feet are such a good idea, very professional looking and and very practical in keeping the bottom of the purse clean, thank you!
Pingback: Guest Tutorial: Oilcloth pannier variation | Bicitoro: bikes and crafts
Question: How would I put feet on the Summer Tote. I am about to make one for a gift for a friend and would like to add this feature.
you make very nice bags but not once to you say the measurements as the lxb of the bags… can you please make the part of the tetorial
Hi. How do you make bag feet from buttons please? Thanks!
Hi Lori, Thanks for asking. I recommend using buttons about 3/4″ – 1″ in size, and somewhat thick so they are durable and won’t easily break. Place the buttons on the bottom of the bag where you want ‘feet’. Sew them in place through the bottom of the bag using a needle and thread.
Thank you for such quick shipment of the face-it soft! Love your interfacing. Also the Happy Day pull tab is a nice touch. I hope to order some. Thank you once again for great service.
Thank you for your detailed instruction on add purse feet, it is helpful