Quick and Cute Zipper Pouches To Make From Fabric Leftovers
Free sewing tutorial using fabric scraps, remnants, and leftovers to make Bendy Bits quick and easy small zipper pouches for gifts and more.
Lazies, If you have some sizable fabric scraps laying around, or have been making Bendy Bags (LGD134) as I have, I’ve got a quick and easy zipper pouch project for those leftovers. The Bendy Bag creates big triangle leftovers, with two pieces of fabric and one layer of fusible fleece already fused into place. It’s a perfect starting point to add a zipper and make these cute Bendy Bits zipper pouches. The Bendy Bits is a bonus project based on the pattern, so the tutorial works off of the pattern information. Claim the free printable tutorial below.
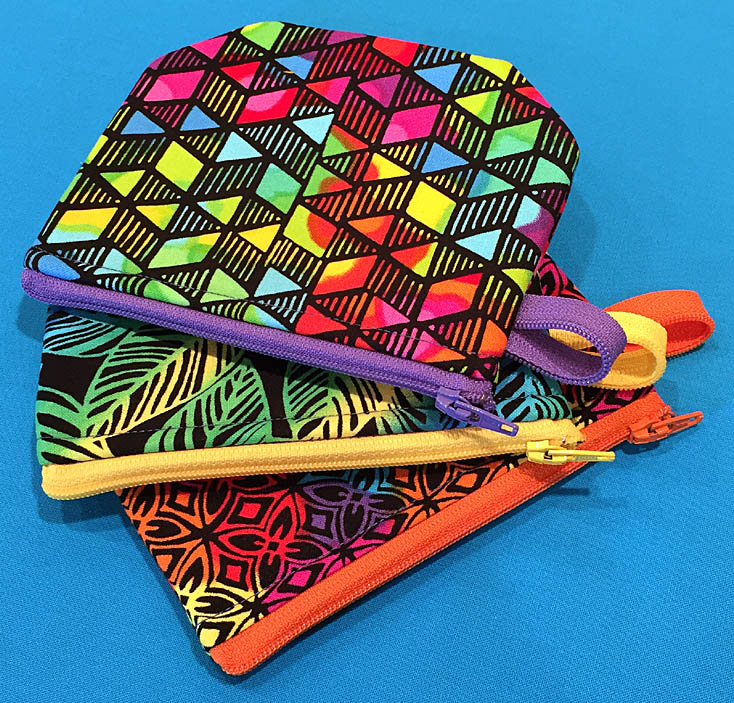
Bendy Bits, made using leftovers from Bendy Bags. Link for the tutorial below.
Bendy Bag Small Zipper Pouch Pattern
The Bendy Bag is a small zip pouch with a funky shape due to the angled side seams. Get the pattern here. The angled side seam is a huge dart. The leftovers are the cutaways from those darts. They are sizable and very usable.

The Bendy Bag uses two fabric fat quarters, a bit of fusible fleece, and a zipper.
Keep and Organize Your Project Leftovers
I use plastic storage bins to sort and store my sizeable leftovers from sewing projects. Here’s my collection of leftovers from the Bendy Bags I’ve made. I keep them organized and neat, so they are ready to go when I am ready to sew. All of these beautiful fabrics are lined with fusible fleece already in place and include a matching 2nd fabric from the project. So these leftovers are already prepped and paired for quick sewing.
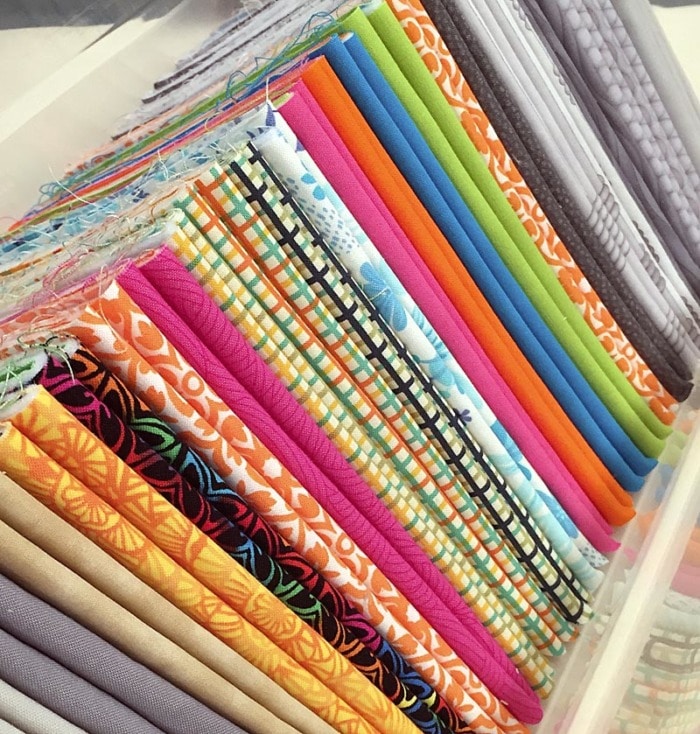
Keep your sizable fabric leftovers from all projects, so you have materials for little projects.
How To Use Sizable Fabric Leftovers
With all of these usable leftovers, I wanted to find a project perfect for the triangles, and other sizable remnants. I reached out to my Lazies (Lazy Girl sewists in my Facebook group) for suggestions on what to make with these gorgeous leftovers. My favorite idea is from Ann Redford, who posted this pic below on my Lazy Girl Facebook page.
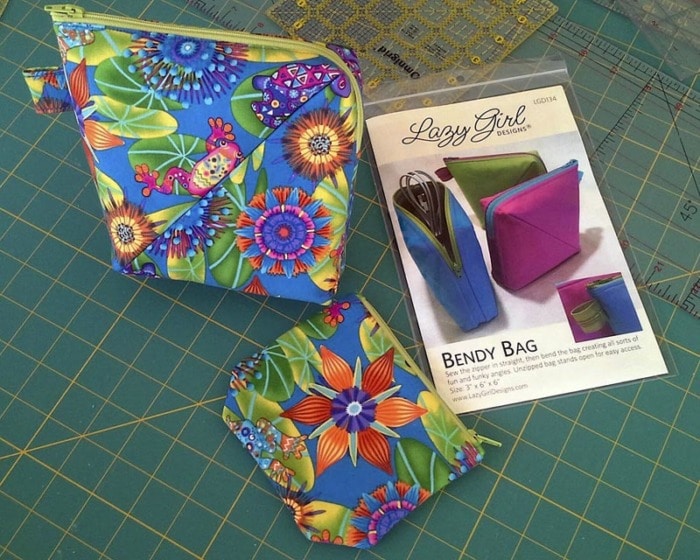
Here are Ann’s beautiful Bendy Bag and the pouch made from Bendy’s leftover fabrics.
Isn’t that leftover pouch adorable? When I saw this, I contacted Ann and asked if I could share her idea as a free tutorial. Ann gave her blessing to use the idea however I please. Thank you, Ann!
Ann cleverly cut an oversized rectangle from the bits. Because of the triangle, the rectangle extends past the fabric at the corners. It’s fabulous because that lack of corners makes a sweet detail. It’s perfect.
Follow my Bendy Bag board at Pinterest for more inspiration.
For my free Bendy Bits tutorial below, I used the easy zipper installation in the Bendy Bag pattern and skipped the Bendy zipper casing since it isn’t needed. The tutorial is written to use Bendy’s construction techniques and instructions.
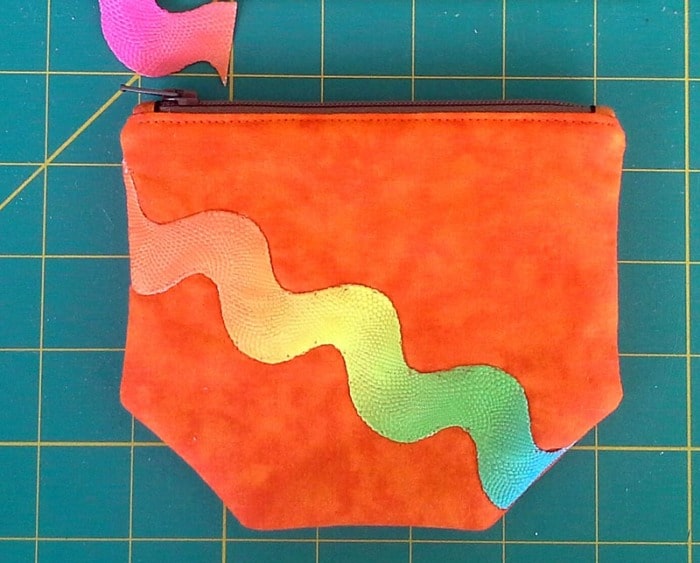
Before final construction, experiment and play with embellishment ideas!
Embellishment Options Before Final Construction
Do you have any decorative supplies sitting around, waiting to become something? Use ribbon, rickrack, or other trims to embellish, as Ann did above. Put those bits together and make better Bendy Bits.
Creative Use of a Zipper as a Grab Tab
Since Bendy Bits is a bit smaller in scale than the Bendy Bag, I opted for a more delicate zipper grab tab, so this is new. I use this zipper grab tab in our popular Becca Bags pattern. To make a grab tab, use one side of a zipper and offset the ends in the seam.
For me, the zipper grab tab is more of a decorative detail than functional. Bits are easy enough to hold at the edge when zipping. Leaving the tab off might be a consideration if it could get in the way when stowing Bits in another bag.
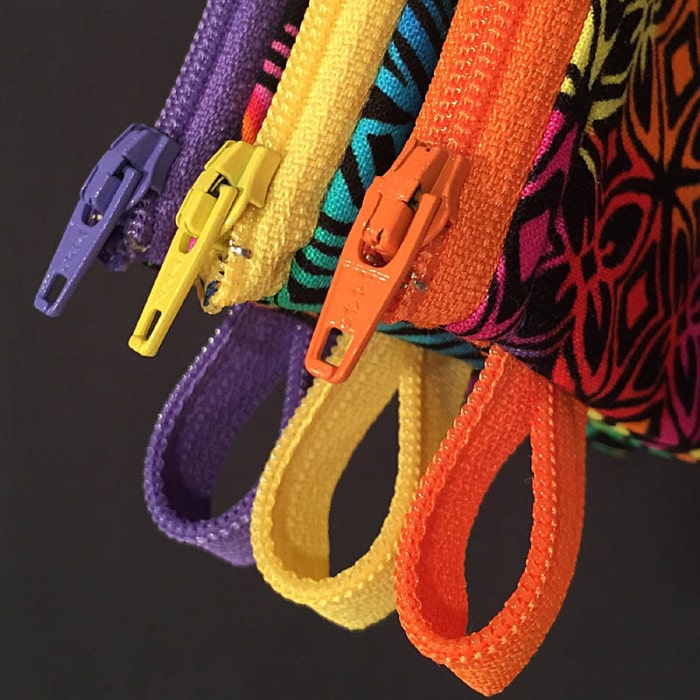
Beautiful juicy zipper sweetness!
Unique Zipper Installation
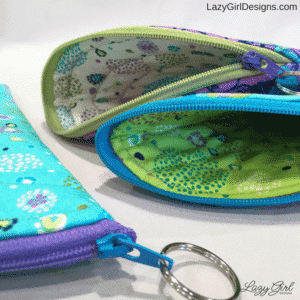
Zippery goodness is happening at the end of the Bendy Bits zip. This trick is a new tip to tuck away for future use.
Follow my easy zipper installation in the Bendy Bag pattern when installing the zip for the Bendy Bits to get this innovative result at the end of the zipper.
When turning the project right sides out upon completion, leave about 1″ of the zipper zipped. This gives you the leverage to push out the zip end for this result. I stitch far enough away from the zip to allow some of the fabric tape to show. This little bit of fabric tape is our friend, allowing us room to push the zipper out nicely.
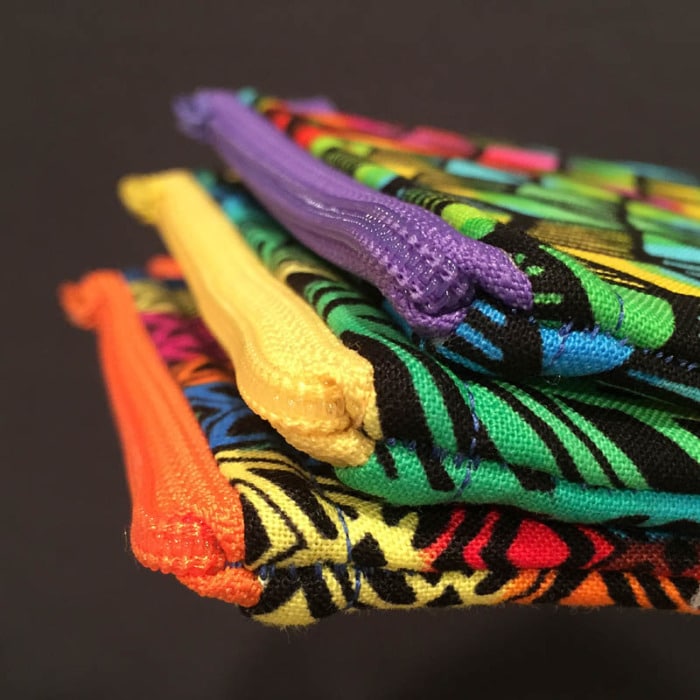
The unique zipper termination looks like tracks of a roller coaster going somewhere scary!
This type of construction usually ends up with a divot and a missing corner, if you will. Turning the zip all the way out like this will take some coercion, but give it a try and be patient for a perfect result. I think the results are worth the effort. Look at that little beauty; it’s sitting atop the bag like royalty!
Very Forgiving Construction Method
In Bendy, the outside fabric will be fused to the fleece. In Bendy Bits, the fleece can be on either fabric piece. I swapped the lining fabric on one of these little cuties with the cover fabric. The project is so small that it doesn’t matter which material the fleece is fused.
Fabrics shown on my Bendy Bits in this post are all Orange Crush from Timeless Treasures. You might remember these fabrics from this post.
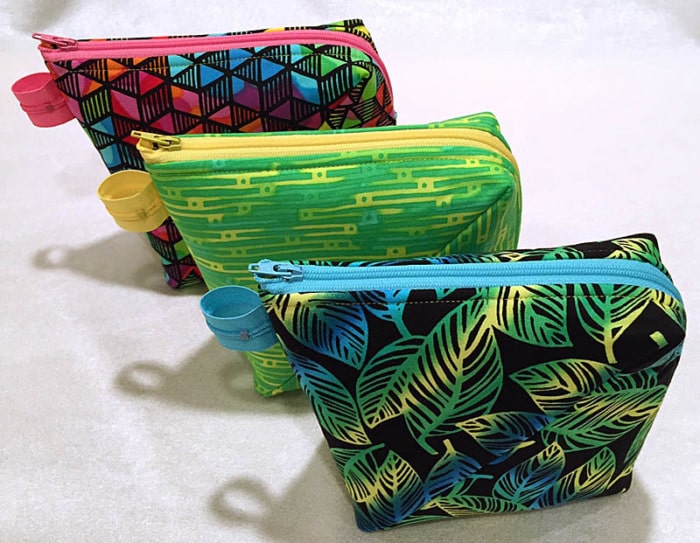
Make a group of Bendy Bags from a fat quarter fabric collection like this group from ‘Orange Crush’ by Timeless Treasures. Don’t forget to have fun with bold zipper color choices.
Note: This post contains affiliate links. I may earn a commission if you order through those links with no additional cost to you.
Use The Best Zippers in Great Colors
It’s a good idea to keep zippers on hand in the colors you already know you like. These are the colors you regularly gravitate to in your fabric choices, wardrobe, and home decor. It’s your color comfort zone.
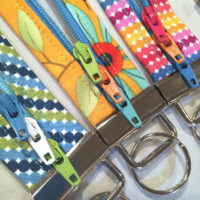
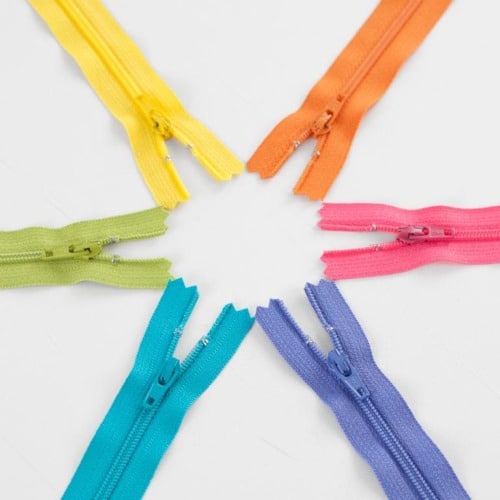
All of the zippers shown are 14″ zips, but I always keep 22″ zips on hand, too, because they can be cut down to size. And I can use the extra zipper length for grab tabs in the side seams. Here are the zips I like. Zippers in Joan’s Essentials.
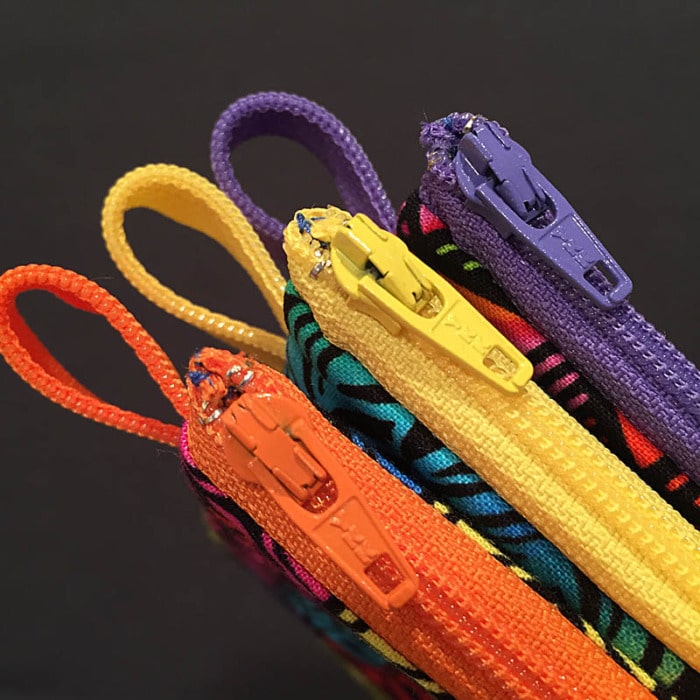
Don’t be shy with your zipper colors. I think of zippers and fabric as my grown-up box of crayons!
Bendy Bits Bonus Project
This Bendy Bits bonus project assumes you own the Bendy Bag pattern and have made a Bendy.
The free printable tutorial below references the Bendy Bag pattern instructions.
If you know how to install a zipper and have basic sewing skills, you can use any leftovers to make Bendy Bits.
That’s Pinterest-ing!
Follow me on Pinterest and pin this post to your Pinterest boards.
Subscribe to receive emails for my blog and newsletters about new patterns and project ideas.
Enjoy!
Joan


What a fantastic use for leftovers!! I’m always looking for ways to use up those bits and pieces…. cudos to Ann for her creativity and thanks Joan for the tutorial!
Yes! love the use of the leftovers!
Thanks Ann for the inspiration and Joan, you’ve created a tutorial in your wonderful Lazy style making it easy for us to use up all the bits of wonderful fabrics!
Can’t wait to make my Bendy so I can make a Bits! Thank you Ann and Joan!
Hi Joan: Thank you for the bonus project. I came across this website:
http://www.quiltypleasures.ca/classes/
and they make a twisty bag out of the Bendy bag scraps. Could you show us how to make this twisty bag please?
if you are not able to pull up the website- you can email me- and I can send you a picture and a link to the site. quite ingenious idea.
thanks.
Lynn
Hi Lynn, I saw that, too and it’s quite clever! I haven’t talked to that store to hear how they made this or get any details. Consider contacting them directly and see if they are able to help.
I found the instructions for the Bendy Bag difficult to understand and came to your site hoping to figure it out. No luck there. Since your pattern says these bags cannot be sold, what is Ann doing with all those bags and little pouches she is making from the scraps? Can they be made and donated to charity fund raisers? hank you.
I also found the instructions difficult to follow and am completely stymied from Step 3 on where you say: “Fold project in half, with the cover fabric together….. “.
The image shows the lining fabric on the left side as well as on the right side. ???
Like Candy from the comments I also hoped to figure out where I went wrong by coming to the website.
can you emial me the free pattern i did this on portal and it does not download thanks