How To Make a Cute Bag From an Old Cherished T-Shirt
Upcycle T-shirt ideas for how to save your favorite t shirt.
Lazies, Can you relate? You love the t-shirt. It has a hole. The love affair is over, right? Not so fast. I don’t wear cool t-shirts as much as I used to, but I still love them. In fact, I feel guilty about buying new t-shirts. Stop feeling guilty or missing your t-shirts of yesteryear. Kick the guilt to the curb, buy that shirt, or rescue a favorite and invite it back into your life with this easy Becca Bag that has a surprise ending.
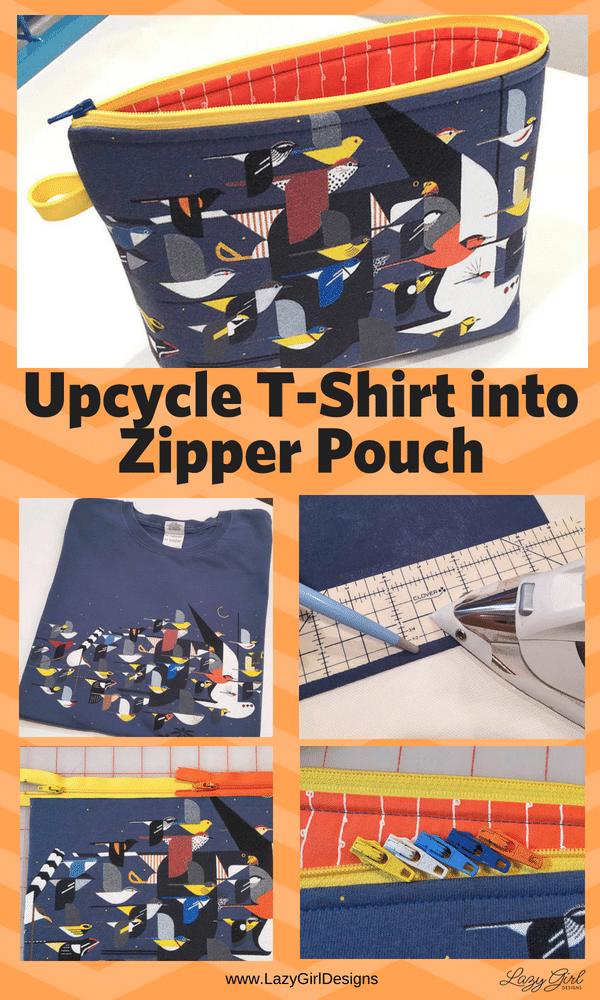
Pin this image to save the idea!
You Love This T-Shirt For A Reason
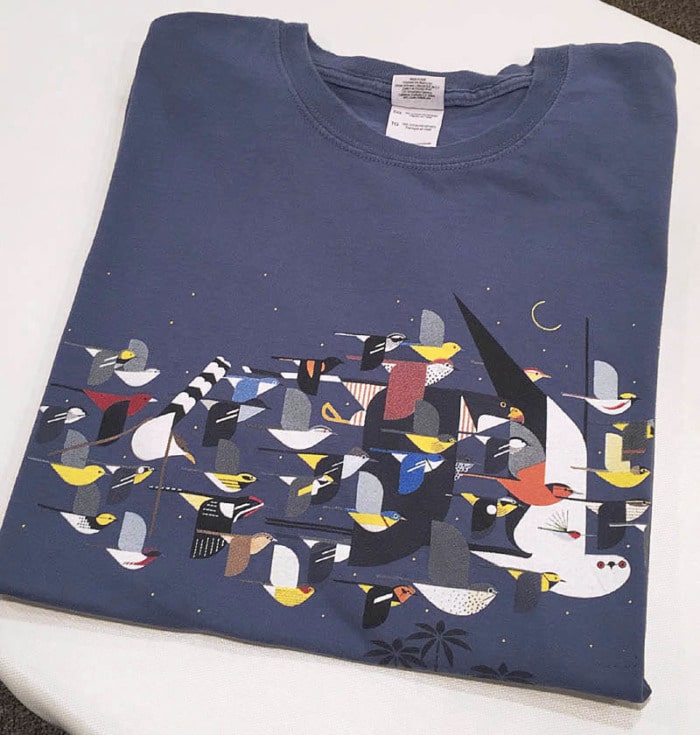
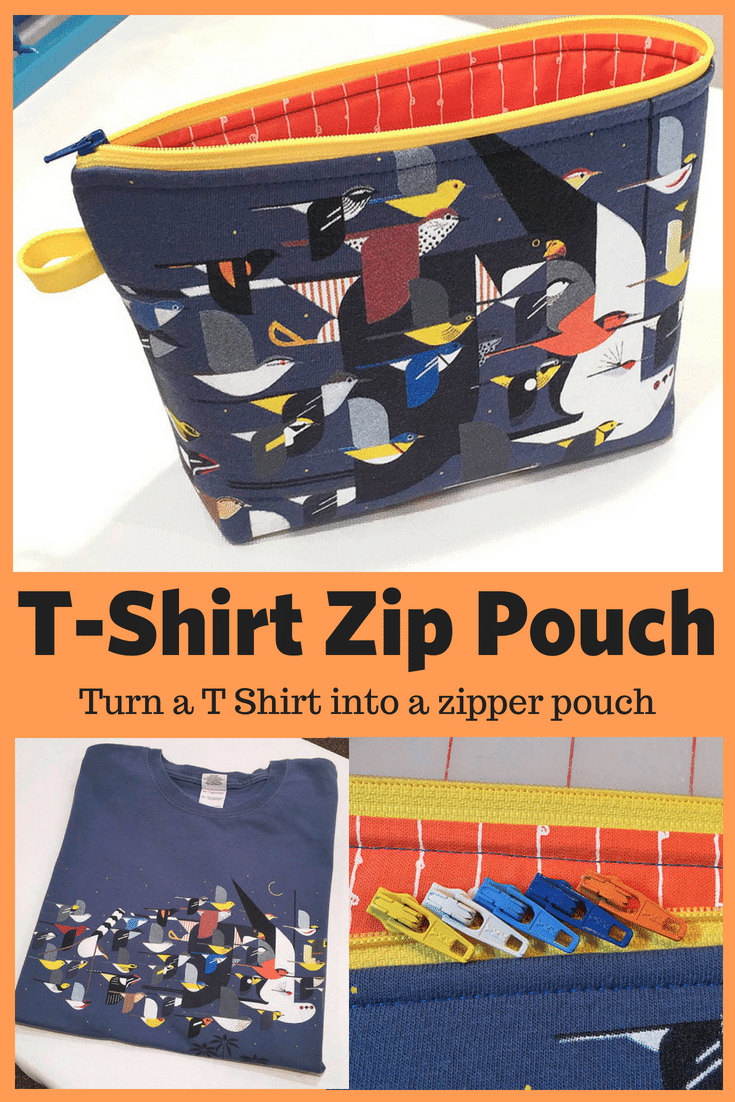
The cool design on my favorite t-shirt is by artist Charley Harper. For our purposes, this is an ‘all-over design’, rather than an emblem or logo with a defined or sharp edge.
The whole design won’t fit on the Becca Bag I’m making, but I’m not too concerned about centering or cropping it for this project. Because of its all-over design, the best part of this will look great no matter where it lands on the finished bag and the artwork will flow into the seams and around the bag.
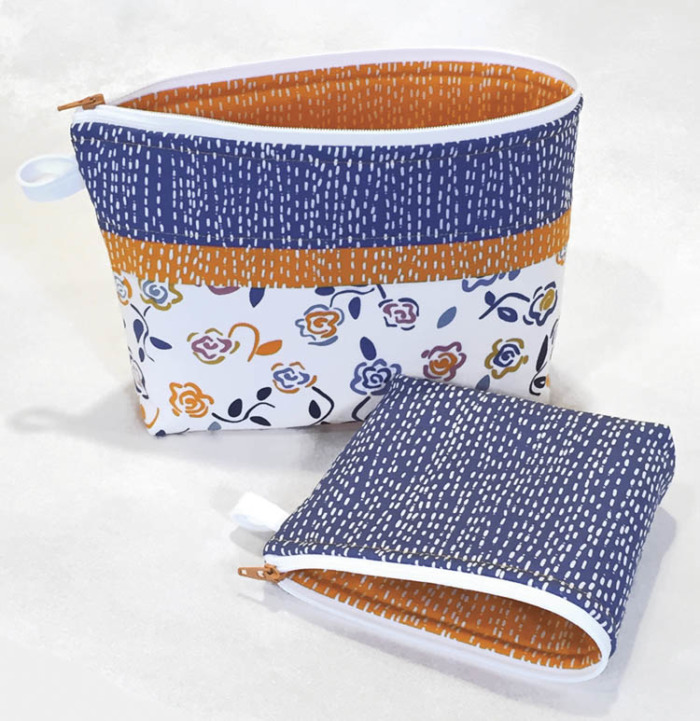
Charley Harper t-shirt and Becca Bags LGD136
The Challenge
Instead of piecing fabrics to build the panel shown in white/orange/blue on the large Becca Bag from the pattern cover, I’ll simply cut panels the size needed for this project.
Position the Design
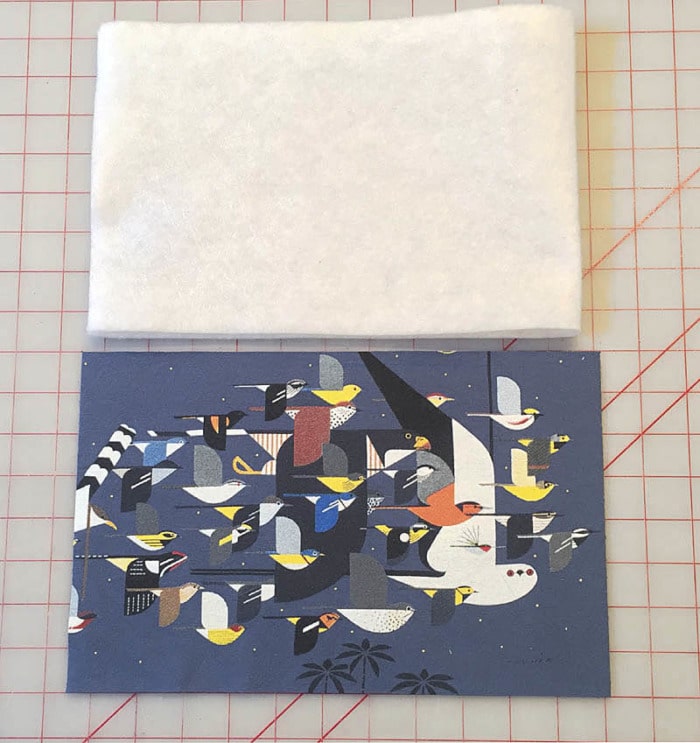
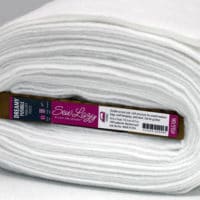
I cut my Dreamy Fusible Fleece for Becca as per the pattern and used it as my guide for positioning the artwork. I folded the fleece in half to represent one side of Becca. Remember some of this design will end up on the bottom and wrap around the bag at the ends.
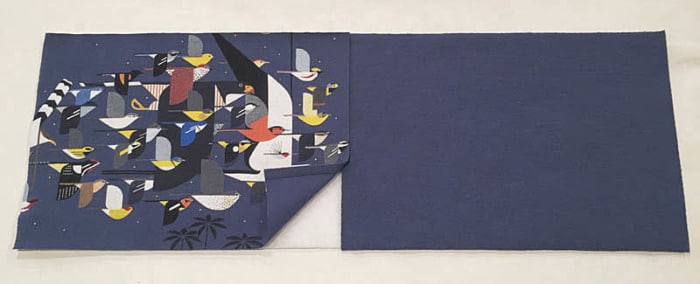
I decided to piece the artwork panel to a plain panel cut from the back of the t-shirt to make the fabric size needed.
Stabilize the T-Shirt!
Right about now, many of you are talking to the screen telling me: ‘Use lightweight fusible interfacing to stabilize that t-shirt’! That’s standard procedure when making t-shirt quilts.
– I hear you.
– I thought the same thing.
– But that’s not what I did.
T-Shirt-y Goodness
I like the softness of this t-shirt and I didn’t want to lose that feeling by adding more interfacing. I decided to fuse both panels directly to my Dreamy Fusible Fleece, then stitch them together where they overlap.
That might not sound radical, but it’s a break from convention which would have you sew the fabrics together, then fuse to the fleece. But doing it my way adds value to the finished bag. Stitching the fabric pieces together through the layer of fleece helps add structure and will hold the layers together.
Surprise Ending
I did a test-fuse and found the t-shirt fused beautifully to the fleece. Here’s the exciting part – the fleece allowed the t-shirt to still feel soft like a t-shirt, but more hearty like a sweatshirt!
Oh my gosh, I created a sweatshirt-like fabric from a t-shirt. It feels soft, but it’s more substantial and has body similar to a sweatshirt. The combo isn’t stiff, yet this small bag still stands up nicely. I really liked the feel of these two together. This is a home run in my book.
Tools Help
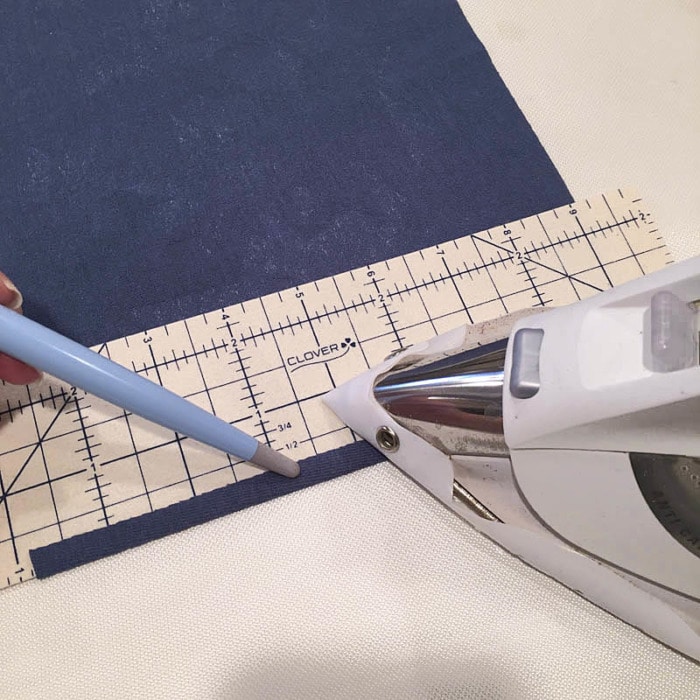
I used the Hot Ruler I designed for my Press Perfect line for Clover (item 7811) to measure, fold and press 1/4″ on the artwork panel in one step. The grippy surface helped hold and control the t-shirt fabric.
I used several of my Press Perfect tools from Clover on this project. That’s my Hold-It Precision Stiletto holding the fold and my Iron Safe on the iron soleplate protecting the fabric and t-shirt design. Without the Iron Safe, use a press cloth to protect the t-shirt artwork when pressing.
Fuse Then Stitch
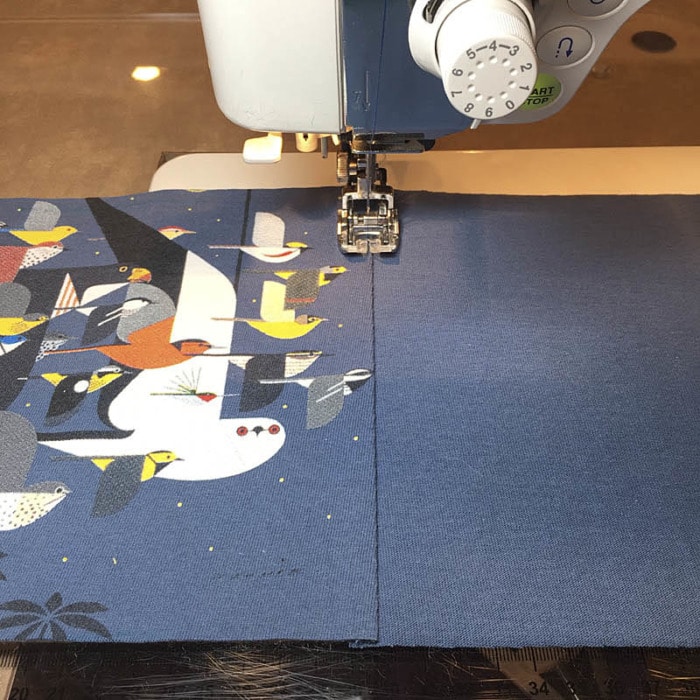
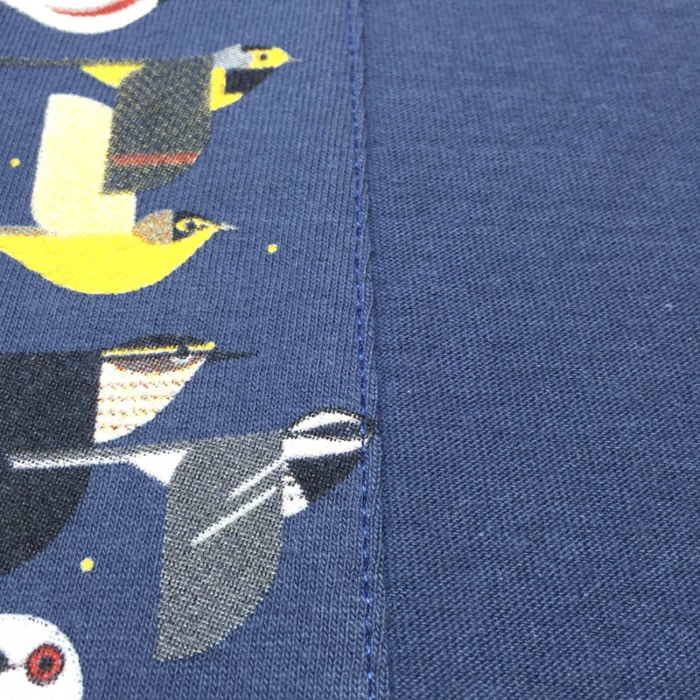
After preparing the panel edge with a fold, I fused both panels to the fleece, overlapping at the center. With both panels fused in place, they were secure and stable for sewing. I topstitched close to the fold, through all layers. The ‘seam’ is soft with only one line of stitching and no interfacing.
The topstitching is a nice detail and it fits the character of stitching you expect to see on a t-shirt. To topstitch, I lengthen my stitch to 3.0 and use an Aurifil 40wt thread. I did stitch through a bird’s beak – sorry about that little guy. Your nose is a small sacrifice for my project.
How to Audition Zippers
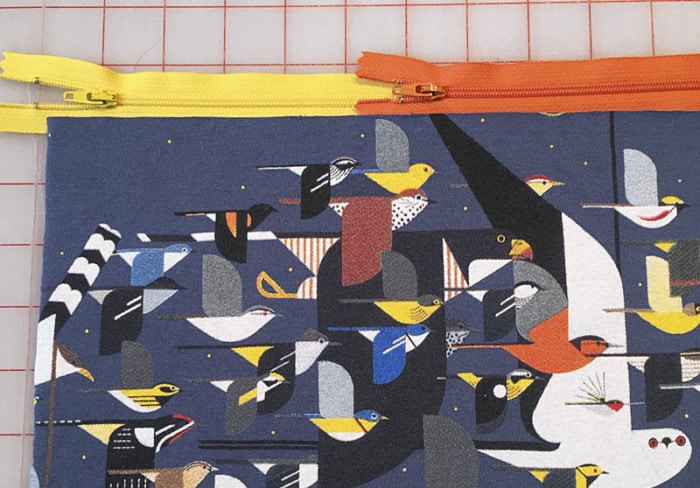
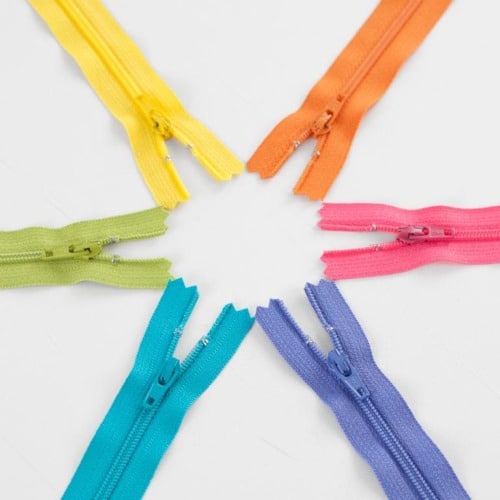
Arrange your zipper color options to resemble the finished project. Yellow and orange zippers look great. I like what the yellow does for the little birdies. I love the depth the orange brings to this party. Seeing how great the orange looks made me decide to use an orange fabric for the lining.
Zipper as Accent
Using the yellow zip makes yellow an accent in this color scheme. Think of the zipper color as another ‘fabric’ for your project. Yellow fabric for the lining would have been overwhelming for me. But all of that orange-y goodness on the lining is a welcome, hearty anchor for this color combo.
How to Audition Zipper Pulls
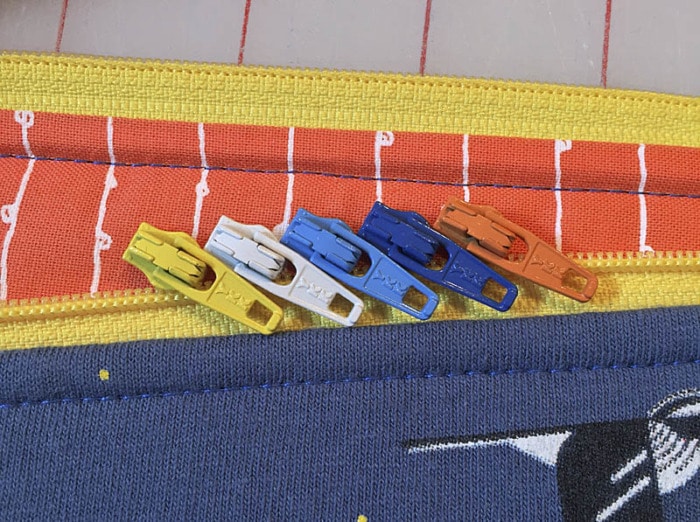
When Becca is unzipped, you’ll be able to see the lining fabric. To audition zipper pulls for Becca, arrange the project and options so you can see all of these elements together. These are all fun options, but I loved the contrast of the dark blue on the yellow zip, against the orange lining.
Zips and pulls available from Zipit on Etsy.
Directions for the zipper installation and my ‘Easy-On’ trick for attaching a zipper pull on are included in the Becca Bags (LGD136) pattern.
Finishing Touches
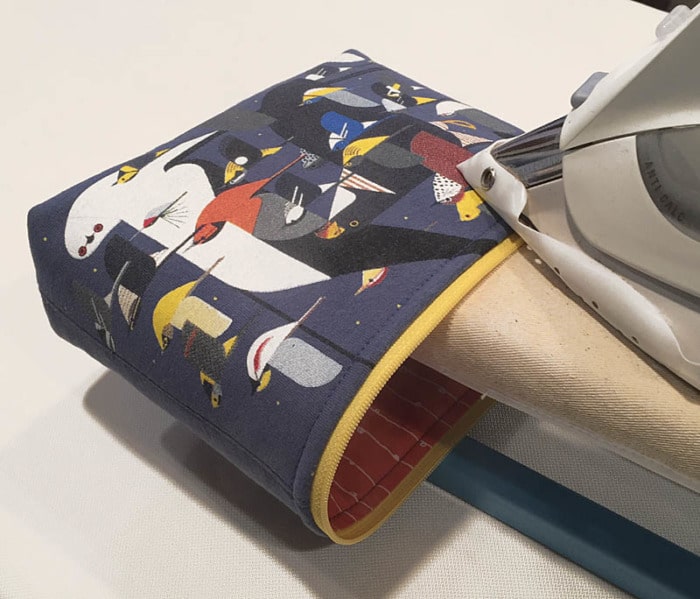
After construction is done, remember to press. A final pressing elevates your project with a nice finish. Here I’m using the Press Perfect 2×4 Mighty Mini Board I designed for Clover.
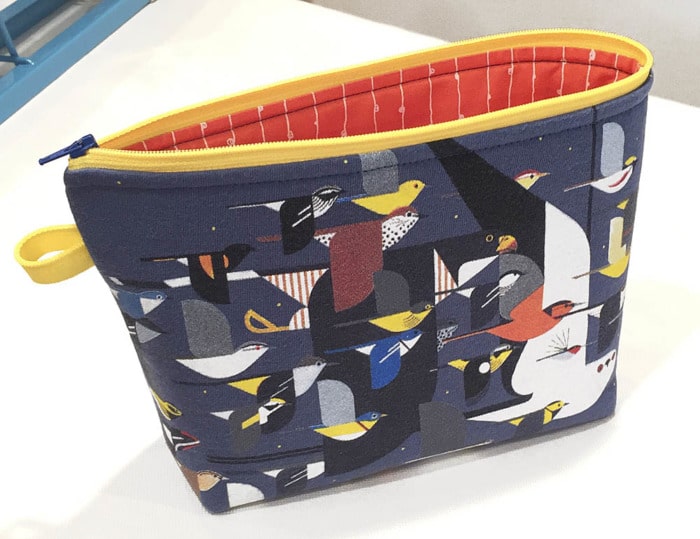
Recycled T-Shirt Becca Bag
And here she is, our t-shirt Becca. I love how this turned out using an unconventional material.
That’s Pinterest-ing!
Follow me on Pinterest and pin this post to your Pinterest boards.
Subscribe to receive emails for my blog and newsletters about new patterns and project ideas.
Enjoy!
Joan
Joan’s Sewing Group | Pinterest
Like and share this post with your stitchy friends.
What a fabulous bag Joan! I have made lots of tee shirt quilts without interfacing…its just seeing with knit after all…but adding the fleece is a great idea for this cute bag. Thanks for another great tutorial.
Love your Charley Harper bag!!! Your Craftsy class is one of my favorites so when I saw your Becca Bag pattern I had to order it…so far I’ve made two small and one large and plan on making more for gifts (once my zipper pull order arrives)…what a fun design!!!
I have several tees from various special places that are no longer wearable (too small, hole…) and I’ve been hanging onto them because I just hated to toss them. This is a great idea for keeping them useful. Thanks for sharing.
Thanks.
I love this idea! I already bought the pattern, but haven’t made it yet. I hope it’s not too hard, ’cause I really want to make this tshirt memory bag. Thank you for your great products and for ideas. Lazy GIrls ROCK
What a great idea. I am in the process of making a T-Shirt quilt for my granddaughter and have a couple left over. Thanks
Great idea! Thanks so much for sharing!
I really love this use of an old t-shirt! I have a few I just can’t part with, but don’t want to put them into a t-shirt quilt…I will be doing this instead!
Love your idea. I’m going to pull a few of the T-shirts that are patiently waiting for their day to shine. (Especially the ones that have “shrunk”) . Thank you
I love your Sweet pea pods and Becca bags. I’ve probably made nearly two dozen of the former and half that many of the latter, and have had a blast doing it. Those Atkinson zipper pulls work great for YKK zippers and will slide fine on Coats zippers but I can’t make them actually close those zippers. Now I have a whole lot of Coats zippers without pulls that work. Any suggestions? Thank you!
This is such a cool idea! Once my machine gets back from it’s check up I might have to try this! 😀
Where do I buy the YKK zippers and zipper pulls.